
Replacing a window is more than removing an old unit and setting a new one in its place. The opening condition, window type, and water-management plan all affect the result. These details matter through Minnesota’s freezing winters and heavy precipitation.
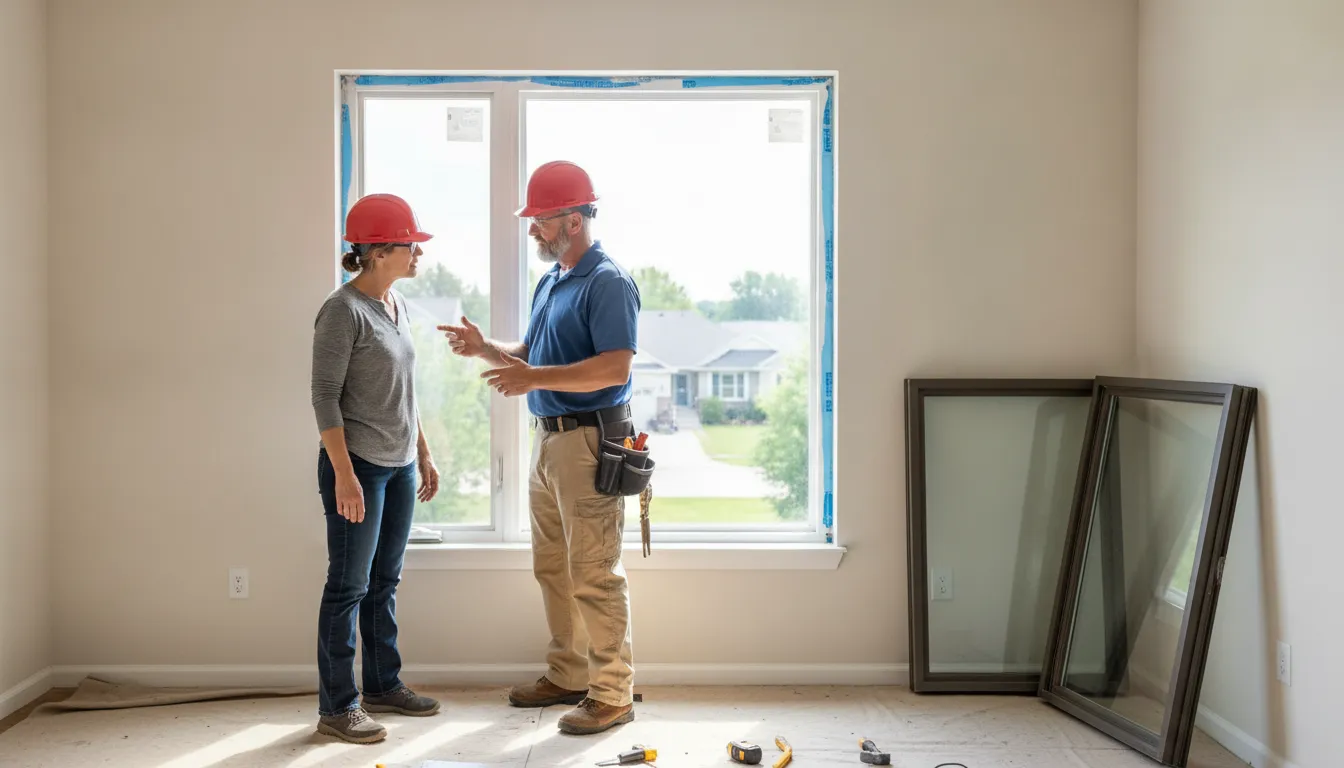
Learning how to replace a window means understanding the full sequence. First, assess the opening, remove the existing unit safely, and prepare flashing and drainage. Next, set the new window level and square, insulate and seal the gaps, then test its operation and inspect the finish. A simple insert may leave the existing frame in place. Damaged framing or hidden leakage can call for a broader replacement approach. The appropriate method depends on the home’s conditions, project scope, and local requirements.
Before picking up tools, look closely at what the old window and surrounding wall are telling you. A careful assessment helps separate manageable preparation from work involving concealed water damage, elevated access, hazardous materials, or building-envelope details that deserve professional judgment.
Contact Referred Restoration online or call (763) 726-4245 to request a free window inspection.
How to replace a window safely in the right sequence
Window replacement is not always a simple matter of taking out one unit and putting another in its place. The correct method depends on the existing window, the condition of the opening, the surrounding trim, and the way the wall manages water. A careful process starts with an assessment, then moves through removal, opening preparation, flashing, installation, insulation, sealing, and operation checks.
One of the first decisions is whether the existing frame can remain or whether the project should expose the rough opening. Typical replacement work may leave the existing frame in place to reduce disruption, but that approach can limit access to concealed air-sealing or water-management problems. The U.S. Department of Energy’s Building America Solution Center notes that homeowners should weigh leaving the frame against addressing potential air and water leakage through full-frame replacement: window replacement guidance.
| Consideration | Insert replacement | Full-frame replacement |
|---|---|---|
| What remains | The existing frame commonly remains in place, with the replacement fitted into it. | The existing window and frame are removed so the opening can be examined and prepared. |
| Opening access | Access is more limited because the surrounding frame and finishes remain. | The rough opening is accessible for cleaning, sealing, inspection, and correction of damage. |
| Flashing and inspection scope | Sealing focuses on the replacement unit and the existing frame. Concealed conditions may remain outside the work area. | Exterior trim or cladding may need removal so head, jamb, and sill flashing can be installed or corrected. |
| When assessment is important | Use an assessment to confirm the frame is sound and that this method suits the opening. | Assessment is especially important when there are signs of moisture, damaged materials, leakage, or uncertain prior installation. |
After the method is selected, the installer should verify measurements and inspect the opening before permanently setting the window. Removal should be controlled so surrounding finishes are not damaged unnecessarily. If the rough opening is exposed, it should be cleaned and sealed as needed before the new unit is installed. The flashing plan should account for the sill, sides, and head, and should connect with the wall’s drainage-plane layer. Openings interrupt that drainage plane and can be vulnerable to leakage if water is not directed outward.
The window is then set according to the manufacturer’s instructions, checked for position and operation, and secured with the specified materials. Insulation and sealant should be compatible with the assembly and applied where they belong, rather than used to conceal an unresolved opening problem. In Minnesota, freezing winters and heavy precipitation make careful water management particularly relevant. A professional assessment can help determine whether the project is a straightforward insert replacement or requires broader opening work.
What should you assess before removing the old window?
Before learning how to replace a window, identify what is actually being replaced. The window type may be double-hung, casement, sliding, bay, bow, picture, or another configuration, and each can affect the removal method and replacement unit. Record how the sash or panel operates, where the frame meets the wall, and whether the interior or exterior trim appears to be part of the existing installation. If you are still comparing designs, you can compare window styles and glass before finalizing the project scope.
Next, measure the existing unit and inspect the rough opening. Measurements should account for width, height, and the space available after stops, sashes, or other components are removed. The rough opening is the structural space around the window, not simply the visible glass or trim. It needs to be clean, sound, and suitable for the selected installation method. A replacement insert may leave the existing frame in place, while a full-frame project can expose more of the opening and may require exterior trim or cladding to be removed. Existing conditions, window type, opening condition, flashing, and local requirements all influence that decision.
Look for moisture and frame damage
Do not treat a draft or fogged pane as proof that a simple cosmetic swap is appropriate. Check the sill, jambs, head, frame, surrounding drywall, and nearby siding for staining, softness, swelling, peeling finishes, or evidence of previous leakage. Water intrusion around windows can remain hidden until considerable damage has developed inside the wall, according to the U.S. Department of Energy’s Building America Solution Center: windows and doors are vulnerable points for water leakage. The assessment should also consider whether the opening has an effective sill pan, air seal, and connection to the wall’s drainage plane. These details matter for drafts, comfort, and long-term protection, especially through Minnesota’s freezing winters and heavy precipitation.
Plan access and staging
Measure the path for bringing the new unit into the home, protect floors and furnishings, and decide where removed sash, glass, trim, and debris will go. Confirm that the work area can be secured if weather changes or the opening must remain exposed. Upper-story access, exterior obstacles, fall protection, and the condition of old paint also belong in the plan. In a pre-1978 home, lead-safe requirements may apply, so do not begin disturbing painted components without addressing that risk.
A careful inspection is more useful than assuming every project follows one standard sequence. Referred Restoration’s process is built around inspection, a custom solution, and professional installation. That approach helps separate a manageable replacement from work involving hidden water damage, compromised framing, difficult access, or envelope details that need specialized judgment.
Why flashing and water management matter
A replacement window is part of the home’s exterior water-management system, not simply a glass unit set into a hole. The wall’s drainage plane, often made from housewrap, taped weather-resistant sheathing, or another approved weather-resistant barrier, is designed to guide incidental water downward and outward. A window opening interrupts that plane, which makes the perimeter especially vulnerable if the layers are not connected correctly. The U.S. Department of Energy’s Building Science Education guidance describes window and door openings as vulnerable interruptions in the wall drainage plane: window flashing helps manage water at these openings.
That is why a sound installation begins by considering where water could enter and where it should go next. The sill is the lowest horizontal part of the opening and needs a pan or sill flashing approach suited to the window, wall assembly, and installation instructions. A sill pan creates a path for incidental water to move toward the exterior rather than collect against the rough opening. Some systems also use a back dam at the interior edge of the sill. Its purpose is to help keep water from moving inward if moisture reaches the pan. The exact material and configuration are not universal, so the window manufacturer’s directions and the existing wall details matter.
How the flashing layers work together
After the sill is prepared, the window is set according to the selected installation method. Jamb, or side, flashing then extends over the sill flashing. Head flashing at the top extends over the jamb flashing. This lapping order matters because the upper layer should shed water over the layer below it, rather than directing water behind it. Federal building-science guidance summarizes the sequence as sill pan flashing, window installation, side flashing over the pan, and top flashing over the side flashing. See the fully flashed window and door opening details for the concept.
Flashing also has to connect with the housewrap or weather-resistant barrier around the opening. A strip that looks sealed by itself can still fail if it is not integrated with the drainage plane. It can also fail if an upper layer is tucked behind a lower layer in a way that traps water. This is especially important when full-frame work requires removing exterior trim or cladding to reach the opening. The surrounding materials may need to be opened carefully, integrated with the new flashing, and replaced after the water-management work is complete.
Why small errors can become hidden damage
Water intrusion is often difficult to diagnose from indoors. Moisture may travel along framing or sheathing before a stain, soft trim, peeling finish, or draft becomes visible. Building-science guidance warns that leakage around windows can remain undiscovered until considerable damage has occurred inside the wall. In Minnesota, freezing winters and heavy precipitation add practical reasons to take these details seriously. But the right method still depends on the home’s construction and the window type.
When learning how to replace a window, focus on continuity: the sill should drain outward. Jamb and head layers should lap in a shingle-like sequence, and the flashing should connect to the wall’s weather barrier. If the opening has rot, uncertain housewrap, damaged cladding, or signs of prior leakage, an assessment is more useful than applying caulk over visible gaps. The goal is not a cosmetic seal. It is a coordinated path that limits water entry and gives incidental moisture a way back out.
How do you set, insulate, seal, and finish the window?
Once the opening and water-management layers are ready, the replacement window must be positioned carefully. The exact sequence depends on the window type, existing frame, installation instructions, and condition of the opening. An insert replacement and a full-frame installation will not use identical details, so the manufacturer’s instructions and applicable local requirements should control the work.
- Dry fit the window. Place the unit in the prepared opening without final fastening. Confirm that the dimensions, sill, stops, and surrounding surfaces allow the window to sit correctly. This is the time to identify an obstruction or an opening that needs additional preparation, before the window is committed to the installation.
- Set it level and plumb. Position the window so the sill is level and the side jambs are plumb. Check that the frame is square and that the spacing around the unit is appropriate for the specified installation method. A window that is twisted or uneven can create problems with sash movement, locking, and weather seals.
- Shim at the required points. Use durable shims where the installation instructions call for support. Shims should hold the frame in its intended position without bowing or distorting the jambs. Recheck level, plumb, square, and diagonal measurements after shimming because tightening the unit can change its position.
- Fasten according to the manufacturer’s instructions. Use the specified fasteners and fastening locations for that window and frame condition. Do not substitute a convenient screw or assume that one fastening pattern fits every product. Work should follow the manufacturer’s instructions and relevant codes and standards, as the U.S. Department of Energy guidance explains in its window installation guide.
- Insulate the perimeter without overfilling it. After the frame is secured, fill the installation gap with an appropriate low-expansion window-and-door foam where the product instructions permit it. In some assemblies, backer rod and sealant are the better solution. The goal is a continuous air seal that does not bow the frame or interfere with moving parts.
- Seal the exterior and restore the trim. Apply compatible exterior caulk at the specified joints, stops, and transitions. Sealant should be selected for the surfaces and weather exposure, then applied according to its instructions. Replace removed trim or cladding after the flashing and perimeter seals are complete, taking care not to block intended drainage paths.
- Test operation and clean the work area. Open, close, lock, and unlock the window several times. Check that the sash or panels move smoothly, remain aligned, and contact the weather seals properly. Inspect the interior and exterior for gaps, disturbed finishes, excess foam, and missed sealant. Remove debris and protect the finished surfaces before the installation is considered complete.
These checks matter because a replacement is more than a cosmetic swap. Correct positioning, insulation, sealing, and trim work help the window perform as intended while protecting the surrounding opening. In a Minnesota home, careful workmanship is especially important where drafts, precipitation, and seasonal movement can expose small installation weaknesses.
Can you replace a window yourself?
Yes, some homeowners can replace an accessible insert window themselves, especially when the existing frame is sound. The opening should be dry, and the replacement unit should be designed to fit inside that frame. That is different from removing the entire window assembly and rebuilding the opening. If you are asking, “Can I replace a broken window myself?” the answer depends on whether you are replacing a sash or glass component, installing an insert, or exposing the rough opening. A broken pane may still involve sharp glass, difficult handling, and a failed frame or seal that is not visible at first.
Know the difference between insert and full-frame work
An insert replacement leaves the existing frame in place. The work still requires accurate measurements, removal of stops and sashes as needed, a clean and sealed frame, compatible sealants, careful positioning, and an operating check. Government window-replacement guidance notes that existing frames may not have been air sealed behind the trim or protected by pan flashing. So an insert can preserve a hidden weakness if those conditions are ignored. Follow the window manufacturer’s instructions rather than assuming every replacement uses the same method. See the guidance on how to choose a Minnesota window company when the installation method or scope is unclear.
Full-frame work is more demanding. It can require removing interior or exterior trim, siding, or cladding. The installer may need to inspect the rough opening for rot or moisture damage, install sill, jamb, and head flashing, integrate the flashing with the drainage plane, and restore the exterior finish. Openings interrupt the wall’s water-management layer and can allow hidden leakage or wall damage when the sequence is wrong. Structural damage, soft framing, persistent moisture, or an opening that is out of square are strong reasons to pause instead of covering the problem with a new unit.
When DIY stops being a safe project
Ask whether you can work from stable ground without a ladder or lift and safely carry and support the window. Plan to protect the interior from weather and use the required tools without damaging the frame or surrounding finishes. Elevated windows add fall and material-handling risks. Older homes add another concern: federal guidance says lead-based paint should be presumed in homes built before 1978 unless testing shows otherwise. Applicable lead-safe renovation requirements must be followed.
Local requirements may also affect egress openings, safety glazing, permits, and inspection. Applicable codes, standards, and manufacturer instructions need to be checked before work begins. If you are unsure whether the project is a simple insert, a full-frame replacement, or a repair hiding moisture damage, an inspection is the practical next step. Is it hard to replace a window? The visible swap may be manageable, but reliable flashing, air sealing, insulation, access, and water management require judgment that goes beyond fitting the unit into the opening.
What should the final inspection include in a Minnesota home?
A final inspection should confirm more than a clean-looking window. Open and close the sash several times, check that locks engage, and look for rubbing, binding, or uneven gaps. If the unit is operable, it should move smoothly without forcing the frame. Confirm that screens, stops, trim, and hardware are secure, and ask whether any adjustment is needed after the window settles.
Air and water checks are equally important. On a windy day, look and feel around the interior perimeter for drafts. Inspect the exterior sealant for continuous coverage and clean transitions at the sill, jambs, and head. A contractor should also look for signs that water could collect at the opening or migrate behind the surrounding finish. Windows interrupt the wall drainage plane, making them vulnerable points for leakage. Proper flashing should direct incidental water outward rather than trapping it in the wall. See the ways to manage water around your home when reviewing the broader exterior drainage system.
Trim and cleanup belong on the inspection list too. Interior and exterior trim should sit securely, align with adjacent finishes, and avoid gaps that expose the opening. Remove protective film, fastener debris, packaging, and excess sealant without damaging the glass or surrounding materials. If existing cladding or trim was removed for full-frame work, verify that it has been replaced and that the repair blends with the home’s exterior.
Minnesota weather makes timing and follow-up worth discussing. Freezing winters, heavy precipitation, snowfall, and hail can put ongoing demands on exterior openings. Before the crew leaves, ask what to watch for during the first significant rain, freeze, or temperature swing. A draft, moisture mark, difficult operation, or separated seal should be reported rather than covered with additional caulk. Local requirements may also affect the work, so confirm that the selected approach fits the home’s condition and applicable requirements.
The right next step is an assessment, not a one-size-fits-all recommendation. Referred Restoration’s process is a free inspection, a custom solution, and professional installation based on the opening, window type, and surrounding materials. The company provides window repair and replacement in Rogers, serving homeowners in Rogers, Cottage Grove, St. Francis, Monticello, and nearby communities. If you are deciding how to replace a window or whether repair is more appropriate, request a free inspection through the contact page and discuss the condition of the opening before work begins.
Contact Referred Restoration online or call (763) 726-4245 before you begin work.
Frequently Asked Questions
Can I replace a window by myself?
Some homeowners can manage limited preparation or a straightforward insert replacement, but full-frame work requires careful measurement, flashing, insulation, sealing, and safe access. Existing damage, difficult openings, elevated work, or uncertainty about water management are strong reasons to hire a professional. Work should also follow applicable local requirements and manufacturer instructions, as outlined by the U.S. Department of Energy Building America Solution Center.
Can I replace a broken window myself?
A small, accessible repair may be manageable if the frame and opening are sound. Before replacing only the glass or sash, check for concealed moisture, frame damage, or a failed seal. If the opening is distorted, water has entered the wall, or the work requires exterior access, an inspection can help determine whether repair or complete replacement is appropriate.
Is it hard to replace a window?
The difficulty depends on the window type, existing frame, rough opening, exterior finish, and condition of the surrounding wall. An insert may involve less disruption, while full-frame replacement can require removing trim or cladding to install and integrate sill, jamb, and head flashing. The correct method is based on the home’s conditions rather than one universal process.
What should you check after installing a replacement window?
Confirm that the sash opens, closes, locks, and latches smoothly. Inspect the interior and exterior seals, trim, and flashing transitions, then look for drafts or signs of water entry after weather exposure. In a Minnesota home, a final review should also confirm that the opening is protected for freezing temperatures and heavy precipitation.
Ready to Plan Your Window Replacement
An inspection can help clarify the condition of the opening, the water-management details, and the installation approach that fits your Minnesota home. Contact Referred Restoration online to discuss a custom replacement solution and request a free window inspection.
Contact Referred Restoration online or call (763) 726-4245.