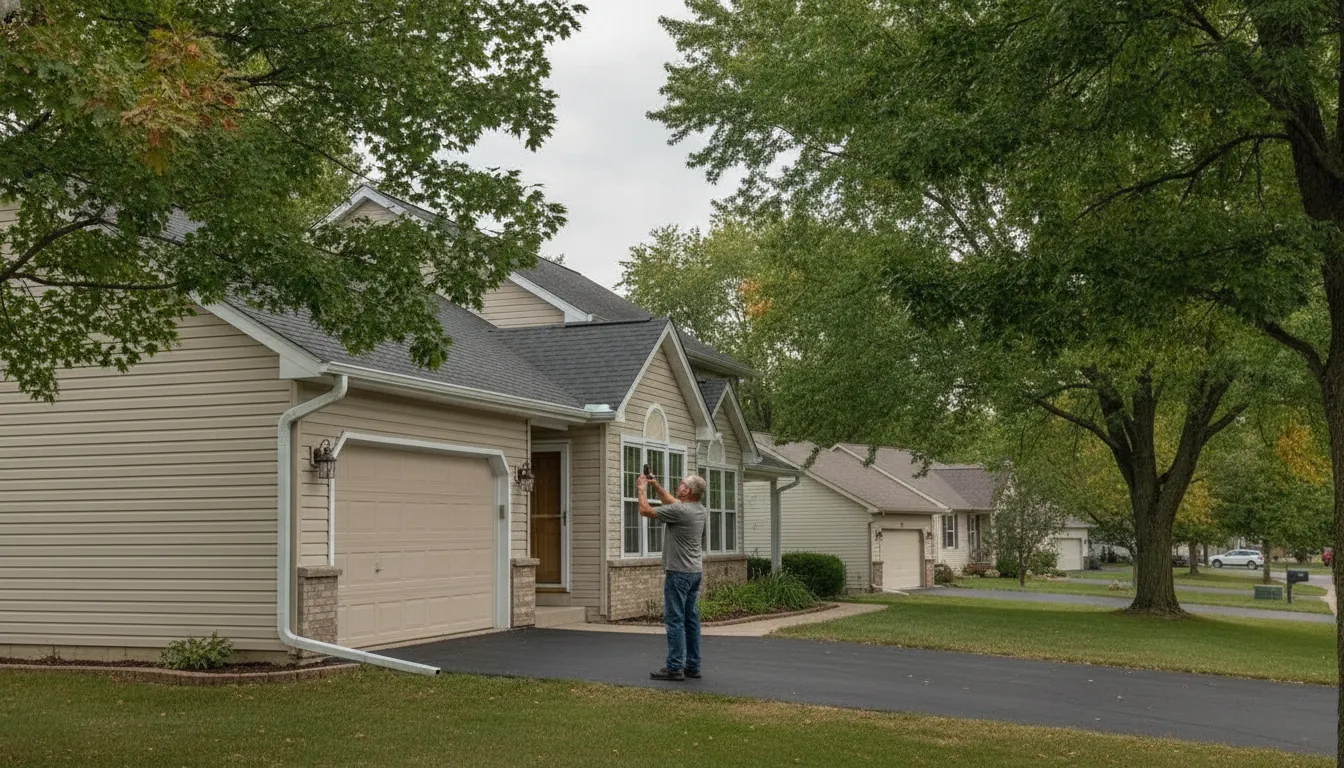
Roofing photos before crew Rogers start with a few minutes and your phone, before materials, cleanup, or weather hide what was already there. Walk around the house from the ground and photograph the roof edges, gutters, trim, driveway, nearby siding, and any marks or debris that are already present. Add the date to your notes and keep the original images.
Contact Referred Restoration online to schedule the free inspection that comes before a Rogers crew is booked. Call (763) 726-4245.
For roofing photos before crew rogers, stay on the ground. Take wide views of each side of the home. Then take closer images of visible damage, gutters, flashing, trim, and nearby surfaces. These photos create a baseline for checking the written scope against conditions that existed before work began. They do not prove the cause of damage or replace a professional inspection.
Do not climb onto the roof for a better angle, especially after hail, heavy rain, snow, or wind. A safe photo record is most useful when it shows both the specific detail and where that detail sits on the home. Start with the roof edges and work outward so the set is easy to review when the crew’s scope is discussed.
Which roofing photos before crew Rogers should include
Take the photos the day before the scheduled crew arrives, while the light is good and the ground is dry if possible. This set gives you a dated, ground-level baseline of what the exterior looked like before work began. If you are searching for roofing photos before crew Rogers homeowners can use, keep the goal simple: document visible conditions without trying to diagnose the roof.
Start with each side of the house
Walk around the property and take a wide photo of every elevation: front, back, and both sides. Include the roofline, gutters, siding, nearby windows, doors, landscaping, and driveway when they are visible. Take a few overlapping views so the location of each close-up is clear. If a roof section is hidden from the ground, note that rather than trying to reach it.
Move in for visible roof details
From the ground, photograph shingle edges that are curled, lifted, missing, or visibly damaged. Also capture any step flashing and pipe boots you can see safely from below. Do not climb onto the roof, a ladder, or an unstable surface for a better angle. A zoomed photo from the yard is preferable to a fall risk.
Include every gutter run and each downspout outlet. Look for sagging sections, open seams, dents, detached pieces, or outlets that appear blocked. Photograph soffit and fascia stains, then take close views of siding or window trim beside the planned work area. Those adjacent surfaces matter when comparing the exterior before and after installation.
Keep the record in perspective
Roof repair can involve leaks, missing or damaged shingles, flashing problems, water intrusion, and visible storm marks. Clear photos can help show which conditions were visible before the crew began, including flashing problems that cause roof leaks. They do not establish why damage occurred or prove that a particular component caused a leak. A photo also cannot replace an inspection from a qualified professional.
Save the original files with the date. Add a simple location label such as “north side” or “garage downspout.” Keep the full set together. Do not keep only the most dramatic images. That gives you and the crew a clearer baseline for discussing what they find and what work is included.
Photograph driveway access and the yard the crew will use
Before the crew arrives, take ground-level photos of the route from the street to the work area. Start with the driveway: show its width, any tight turns, joints or patched sections, and the space available for a truck or material delivery. Then photograph gates and side paths, including the gate width and any steps or narrow spots that equipment must pass through.
Look up as well as down. Overhead branches, satellite dishes, low decks, and nearby rooflines can affect how people and materials move around the house. Photograph AC condensers, hose bibs, downspouts, retaining edges, and plants growing close to the wall. Include planters, outdoor furniture, grills, play equipment, and anything else that may need protection or temporary relocation. You do not need to climb onto the roof. Ground-level images of the roof edges, gutters, trim, driveway, and existing marks create a useful baseline without replacing a professional inspection.
These details help turn a general conversation into a clearer written plan. A driveway joint may call for plywood protection before materials cross it. A planter tight against the wall may need to be moved, covered, or worked around. A narrow gate can change where supplies are staged. Share the photos during the free inspection. The team can discuss protection before installation day, instead of finding a tight gate when the truck is already there.
That preparation matters even for a short project. Referred Restoration says most roof replacements take one to three days, depending on the size of the home and the weather. The published process includes a free inspection, a custom plan, installation, cleanup, and a walkthrough. Photos of the yard and access path give the plan more useful detail and make the cleanup and walkthrough easier to check. For more items to settle in advance, review these planning questions before roof installation.
How to label the photo set so it matches the scope
A photo is more useful when the crew can tell where it was taken and what it shows. Use a simple file name that gives the date, the side of the house, and the detail in the frame. For example: 2026-11-19-north-downspout-garage.jpg or 2026-11-19-street-side-stained-soffit-patio.jpg.
Keep the wording specific without trying to diagnose the problem. “Downspout at the garage” identifies the location. “Stained soffit over the patio” identifies the visible mark. That is enough for the team to connect the image with the area you want reviewed. Ground-level photos can document existing conditions, but they do not establish the cause of a leak or replace a professional inspection. Do not climb onto the roof to get a closer frame.
- Date: when the photo was taken.
- Elevation: north, south, street side, driveway side, or another clear side.
- Subject: the feature shown, such as a downspout at the garage.
Save the original photos, then make a separate copy for sharing or marking up. Keeping both versions preserves the unedited record while letting you add a circle or note to the copy if that helps explain your question.
Send the labeled set with your questions before the crew date, rather than waiting until the visit begins. Send images early so the team can discuss visible marks. The written scope should name conditions that were already there. For the broader visit-prep steps, use this roof repair preparation checklist as a companion.
A ground-level checklist you can finish in one walk
Take these photos from the ground before the crew arrives, using a date-stamped folder if possible. Step back far enough to show context, then take a closer view when a detail is easy to see. Do not climb onto the roof or use a ladder for this record.
| What to photograph | Where to stand | Why it belongs in the file |
|---|---|---|
| Each house elevation. | Stand across the street or at the edge of the yard, facing each side. | This creates a dated baseline of the exterior before work begins. |
| Shingle edges and lifted tabs you can see from the ground. | Stand at the property line or another safe spot with a clear view upward. | This records roof-edge conditions you can see without a roof inspection. |
| Chimney, skylight, or wall flashing you can see without a ladder. | Stand in the yard, driveway, or sidewalk and center the detail. | This shows roof transitions before the crew evaluates them. |
| Gutter runs and downspout splash. | Stand at each corner and along the side of the house. | This shows sagging, staining, loose sections, and where water hits the ground. |
| Soffit and fascia stains. | Stand below the eaves, well clear of the wall. | This keeps visible discoloration for the inspection. |
| Driveway, gate, and overhead clearance. | Stand at the street, then inside the driveway or gate. | This documents access and existing surfaces near the work. |
| Siding and window trim beside the eaves. | Stand in the yard or on the walkway, square to each wall. | This separates old marks from changes noticed after the job. |
| Existing dents, cracks, or stains. | Stand close for detail, then farther back for location. | This pairs each mark with its setting. |
Keep the set for your records and share anything concerning during the appointment. These photos do not replace the roof repair in Rogers or roof replacement in Rogers inspection Referred Restoration schedules before recommending repair or replacement. The free inspection and professional assessment are what determine the next step.
What to do with the photos after you take them
Keep the set with the written plan, not in a camera roll you will not find later. Referred Restoration’s published process starts with a free inspection, then a custom plan, then installation, cleanup, and a walkthrough. The photos belong with that plan so both of you are looking at the same marks.
Send the labeled copies before the crew date when something is easy to miss from the street. That might be a stained soffit over a patio, a cracked driveway joint, or a downspout that already dumps water against the foundation. The office is at 20980 Rogers Dr, Suite 450, Rogers, MN. Inspections run Monday through Friday, 8:00 AM to 5:00 PM, and Saturday, 8:00 AM to 12:00 PM. Homeowners in Rogers, Cottage Grove, St. Francis, and Monticello can use the same file method.
On installation day, leave the originals untouched. The site says most roof replacements take one to three days. Timing depends on the size of the home and the weather. The yard will look different for that short stretch. After cleanup, walk the same elevations you photographed. Compare the driveway, the plants you asked to have moved, the siding beside the eaves, and the downspout outlets. If a mark in the “after” view was already in the “before” file, say so during the walkthrough. If a new mark is not in the file, point to the empty spot in the set. That is the practical use of the record. It is not a claim file, and it does not decide whether the roof needs repair or a full replacement.
When weather or an active leak changes the photo plan
A photo record is useful only if you can make it safely. If lightning is present, stop photographing and move indoors. Do not stand under a damaged eave during a downpour, where falling materials and runoff can create another hazard. Never climb onto the roof, a ladder, or an icy surface for a better angle. Ice can make even a short walk slick, so skip the exterior walk and read about ice dam prevention instead.
Pay attention to the storm itself, not just the damage left behind. The National Weather Service severe thunderstorm guidance defines a severe thunderstorm as one producing hail at least 1 inch in diameter or wind gusts of 58 mph or greater. These storms can also bring lightning and heavy rain. Wait until conditions have passed and the area is safe before taking ground-level photos of roof edges, gutters, siding, trim, or fallen materials.
If water is coming inside now, stop the photo walk. Move people and belongings away from the leak if you can do so safely, place a container under dripping water, and avoid touching wet electrical equipment. Use the emergency path for emergency roof tarping and, when it is safe to investigate from indoors, finding a roof leak from inside. Do not go outside to document a leak while wind, lightning, or heavy rain is ongoing.
One drainage note: if a downspout is already overflowing and conditions are safe, a ground-level photo can show where water is collecting. That may help direct an inspection, but it is not a reason to approach a damaged roof. Referred Restoration responds to storm damage and still starts with an inspection, which can determine what needs attention after the weather clears. If the situation is safe to document, take the photos from the ground and leave roof access to the crew.
Contact Referred Restoration online if you want the free inspection scheduled before you finish the photo set. Call (763) 726-4245 and ask to line the visit up with the crew date.
Frequently Asked Questions
What should I photograph before the roofing crew arrives?
Start from the ground and capture roof edges, gutters, downspouts, trim, nearby siding, the driveway, and any existing marks or conditions near the work area. Take wide photos to show where each feature is, then closer photos for details. Include paths, outdoor items, and surfaces that may be relevant to access or cleanup.
Should I climb on the roof to take pictures?
No. Stay on the ground and use a safe vantage point, such as the yard, driveway, or a window. A roof can be slippery, steep, or damaged, and a ground-level record is enough to document visible conditions without creating a fall risk.
Do ground-level photos replace a roof inspection?
No. Photos create a dated baseline for comparing visible conditions with the written scope, but they cannot show every roof surface or establish the cause of a problem. Referred Restoration’s free inspection remains part of the process before work begins.
How should I label the photos?
Use the date plus a simple place, such as “2026-11-19 east gutter” or “driveway by garage.” Keep the original files. Group them by area if you took several. Clear labels help match each image to the right part of the property and the written scope.
What if I already have an active leak?
Photograph only what you can safely reach from the ground, including exterior areas where you see water entry or related marks. Do not climb to investigate. Share the photos and describe when the leak appears, but rely on the inspection to determine the source and the appropriate scope.
Contact Referred Restoration online or call (763) 726-4245.
Bring the labeled photo set to the inspection, or send it ahead. The team can use it while they look at the roof, then explain what they found in plain language. Call (763) 726-4245 if you would rather talk through the photos first.
Leave a Reply
You must be logged in to post a comment.