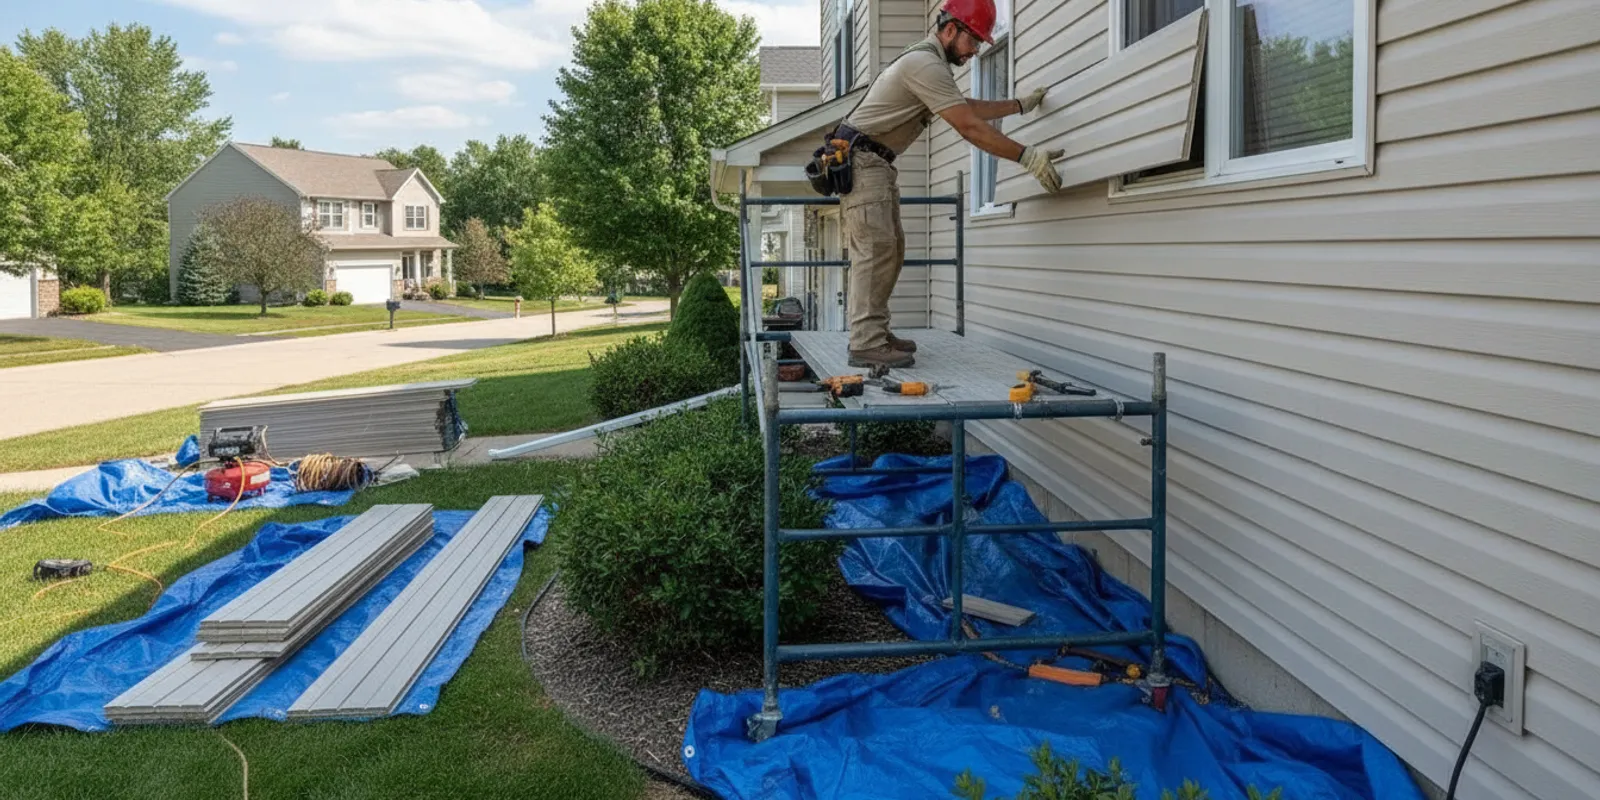
If you are planning siding installation cottage grove mn, it helps to know how the work is organized and what decisions may come up. A well-planned project starts with a clear scope, protects access around the home, checks exposed wall areas, and gives attention to water-management details before they are covered.
Contact Referred Restoration online
What should you confirm before installation day?
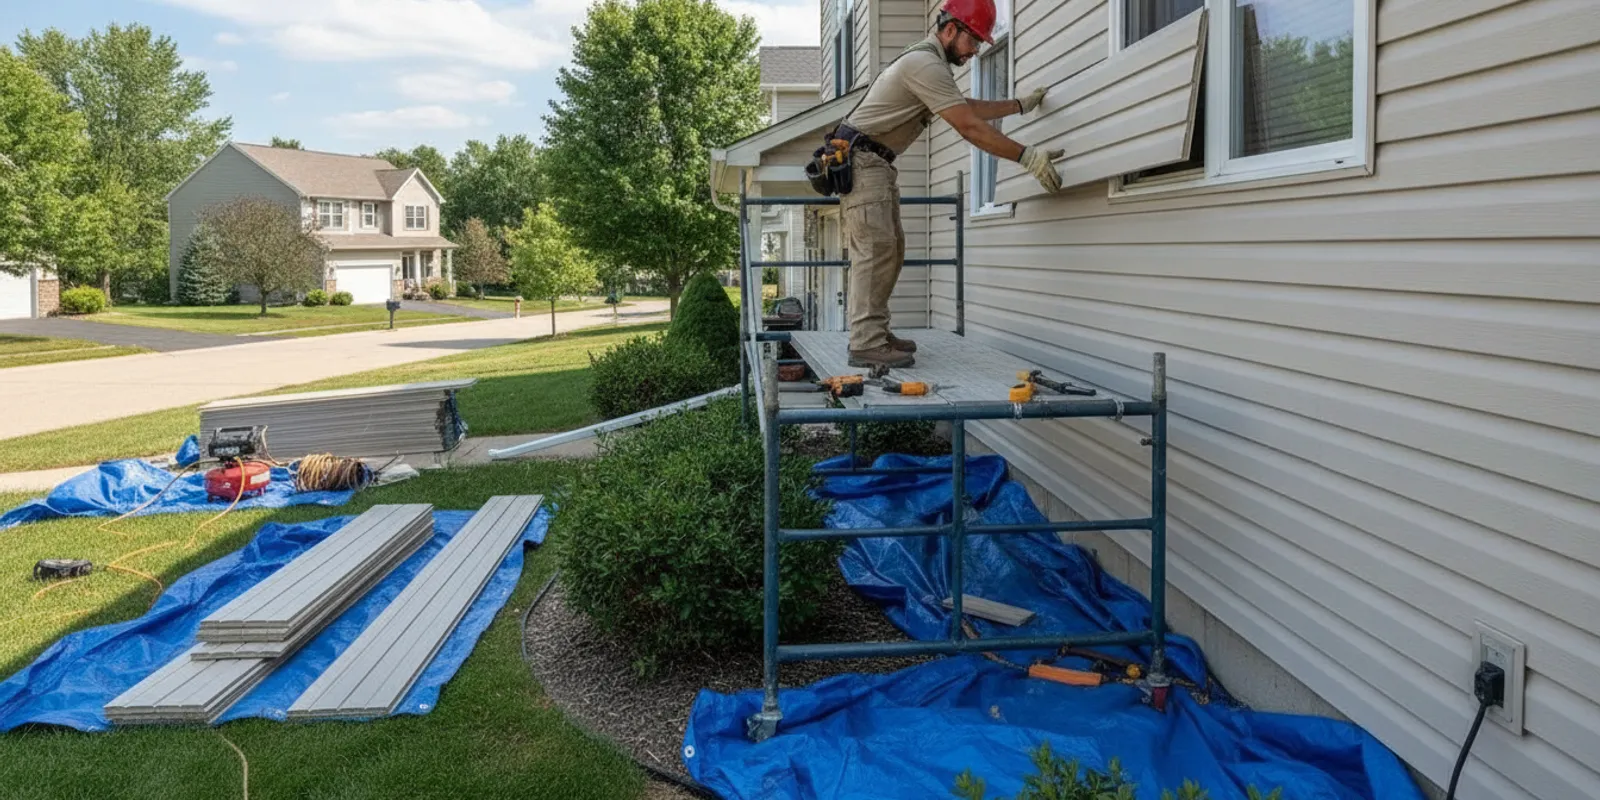
Start with the written work plan. Confirm which sides of the home are included, what siding and trim are specified, and whether removal and disposal of existing material are part of the work. Ask which details are included around windows, doors, corners, roof edges, vents, and utility penetrations. These are easy to overlook when a proposal describes the work only in broad terms.
Clarify how the crew will handle concealed conditions. The wall behind existing siding cannot always be fully assessed in advance. Agree on how a newly exposed concern will be shown, documented, explained, and approved before additional work proceeds. Ask who will contact you and how decisions will be recorded if the scope needs to change.
Discuss timing and access without assuming a fixed duration. Weather, the home’s shape, and conditions found during removal can affect the sequence. Ask where materials and equipment will be staged, which doors or paths should remain clear, and whether there are expected periods when access to a side of the home will be limited. The Cottage Grove exterior restoration page provides local service information, while the siding service page offers more context about the work.
How can you prepare the property?
Before the crew arrives, move vehicles away from the planned work area if requested. Relocate grills, patio furniture, planters, garden tools, and fragile decorations that sit close to the walls. Keep children and pets away from ladders, tools, material stacks, and debris. If you have outdoor outlets, hose connections, lighting, or utility equipment near the siding, point them out and ask how they will be protected.
Walk the perimeter and identify delicate landscaping, narrow walkways, gates, and areas where the ground is uneven. Ask where removed material will be collected and how workers will move it. A clear route can reduce unnecessary disruption and helps you know which parts of the yard may be temporarily unavailable. If a vehicle must remain accessible, discuss that before the work area is established.
Keep a copy of the approved scope and contact information for the project lead. Take a few dated photos of the exterior and nearby features before work starts. These are a useful reference for remembering the starting condition; they are not a substitute for raising concerns directly. Make a short list of questions so that important details are discussed before the crew is ready to cover a wall.
What happens when old siding is removed?
Removal depends on the agreed plan and the condition of the existing exterior. When siding comes off, the exposed wall can be examined for visible deterioration, damaged sheathing, or signs that moisture may have affected materials. The inspection is limited to what is visible once the assembly is opened. It is sensible to ask the installer to show you a concern where practical and explain what it means for the proposed work.
Do not treat new cladding as a way to conceal a damaged surface. Ask what work is proposed to prepare the substrate and whether that work is already included. If a change is needed, request a description of the location and the proposed repair, along with a written record of any revised scope. That makes it easier to distinguish the planned installation from a decision made after removal.
Some homes have irregular wall surfaces or layers from earlier projects. Ask how those conditions affect the installation plan and appearance. The answer may depend on the wall assembly and the selected product, so avoid relying on a universal rule. If an area cannot be completed as originally planned, get an explanation before it is covered.
Why do flashing and water details matter?
Siding is the outer cladding, but the wall assembly also needs a planned way to manage water. Around windows, doors, corners, vents, and other openings, ask how flashing and water-resistive layers will be integrated with the siding. The goal is to direct water outward rather than allow it to collect behind the cladding. Specific details vary with the home, product instructions, and applicable requirements.
Caulk is not a universal substitute for flashing or for correctly layered materials. Before an opening is covered, ask the project lead to describe the sequence and identify which components are new, reused, or repaired. If trim is being replaced, clarify how it relates to the concealed water-management details. A neat visible bead alone cannot show whether the hidden layers are arranged correctly.
Pay attention to transitions where siding meets a roofline, deck, masonry, or a different exterior material. These changes can involve different surfaces and exposure to water. Ask how the plan addresses each transition rather than assuming one detail works everywhere. For related visible finishing details, see the guide to exterior window trim.
The U.S. Department of Housing and Urban Development’s residential rehabilitation guidance discusses exterior wall moisture and water management as part of building repair planning. Consult its moisture control guidance for general background; the right installation detail for a particular home should still follow its product instructions and applicable local requirements.
What should you check as siding panels go up?
Ask the installer how the selected product is laid out and fastened. Different siding materials have different installation instructions, including requirements for fastening and movement. The crew should follow the instructions for the product being installed instead of applying an assumed method across all materials. Keep product information with your project records when it is provided.
From a safe vantage point, look for courses that appear consistent and for orderly transitions at corners, openings, and changes in roofline. A wall may not be perfectly straight, so ask how the installation will handle uneven areas without forcing panels into a position that conflicts with the product requirements. If a section looks unlike the agreed layout, ask about it while it is still accessible.
Check the delivered material before installation begins. Confirm the product type, color, and trim selection against the written scope. If several packages or components are involved, ask how the crew will keep them organized and whether there are product documents you should retain. For a comparison of one material category, read the homeowner’s guide to engineered wood siding.
How should trim and openings be finished?
Trim creates visible edges around windows, doors, corners, and roof edges. Review what the scope includes: replacement of existing trim, installation of new trim, or reuse of certain components. Ask how corners and joints will be finished and how the trim selection coordinates with the siding. Confirm any areas that are excluded so you do not mistake an agreed boundary for unfinished work.
At each opening, look for trim that appears even and securely fitted. Check that edges meet cleanly and that the finish is consistent from one side to another. Appearance is only one part of the review, however. Ask the project lead to explain the concealed flashing and layering before those details disappear behind trim or siding.
Sealants may be appropriate at specific joints, but they should be used according to the product instructions and assembly design. They should not be treated as a blanket fix for a missing water-management component. If a visible gap or unusual transition concerns you, identify the exact location and ask how it will be completed.
How do the main installation phases compare?
The order and scope can vary by home, but this table can help you connect each phase with a useful question. Use it to discuss the project plan rather than as a substitute for the written agreement or the product instructions.
| Phase | Typical focus | What to confirm |
|---|---|---|
| Preparation | Access, staging, and protection of nearby areas | Material location, clear paths, and landscaping precautions |
| Removal and review | Remove agreed existing material and examine exposed areas | How newly discovered conditions will be documented and discussed |
| Wall and opening details | Prepare surfaces and integrate water-management components | How openings and transitions will be handled before concealment |
| Panels and trim | Install specified cladding and finish edges | Product, layout, fastening, movement provisions, and trim scope |
| Closeout | Clean the work area and review completed work | Walkthrough, remaining items, and available care information |
What should you do if the plan changes?
Unexpected conditions do not automatically mean the whole plan has changed. First, ask the project lead to identify the location and explain why the original scope may not address it. If practical, review the area in person without entering an unsafe work zone. Ask what options are being considered and what each option means for the installation sequence.
Before authorizing additional work, make sure you understand exactly what will be done and which portions of the original scope remain unchanged. Request a written description of the revision and keep it with your project documents. If you need time to consider the change, ask whether the crew can pause at that location without affecting exposed materials or creating a safety concern.
Keep communication focused on observable details: the wall location, the condition described, the proposed work, and the decision made. This avoids confusion later about whether a repair was discussed or completed. If the concern relates to a product, ask for its documentation or installation instructions where appropriate.
What should happen during cleanup and closeout?
At the end of the work, review the agreed areas with the project lead from safe locations around the home. Walk each elevation and compare what you see with the written scope. Look for unfinished edges, missing trim, visibly inconsistent courses, exposed fasteners where not expected, or damage to nearby property. If something needs attention, write down its location and ask how it will be handled.
Ask what cleanup is included and where removed material or leftover supplies will go. Check paths, planting beds, and the staging area for debris. Do not handle sharp scraps or climb ladders to inspect a high wall. Have the crew address any item that requires access to tools or elevated areas.
Request any available product and care information, and keep it with the scope and approved changes. Ask whether there are maintenance steps, limitations, or follow-up checks you should know about. If the work included repairs to exposed wall areas, confirm that the project record describes what was addressed. For other exterior questions, the company’s seamless gutter installation information may help you consider how the gutter edge meets the siding.
What local conditions should Cottage Grove homeowners discuss?
In Minnesota, an exterior project may be affected by changing temperatures, wind, rain, and seasonal work conditions. Ask the installer how the selected siding product’s instructions apply to installation conditions and how the crew will protect open wall areas if weather changes. Do not assume every product has the same temperature limits or handling requirements; ask about the specific material chosen for your home.
Consider how water moves around the whole exterior, not only across the siding face. Discuss the edges beneath rooflines, around windows, and near gutters or downspouts. If existing drainage sends water toward a wall or leaves staining near the foundation, point it out during planning. This observation does not prove a siding defect, but it can help the installer understand the context before work begins.
Homeowners reviewing storm-related exterior concerns can also consult the company’s storm damage restoration information. Keep this project focused on the agreed siding work, and raise any separate roof, window, or drainage issue as its own question so that it can be evaluated clearly.
What questions can you bring to the first appointment?
- Which elevations, siding materials, and trim components are included?
- Is removal and disposal of existing siding included in the plan?
- How will the crew protect landscaping, walkways, fixtures, and nearby property?
- How will exposed wall areas be reviewed after removal?
- How will flashing and water-management details be handled at openings and transitions?
- Who will explain an unexpected condition and record an approved change?
- What product documents and care information will be provided at closeout?
- What should I expect during the final walkthrough?
Written answers are easier to revisit than a conversation remembered days later. Keep the agreed scope, updates, and approved revisions together. If a question concerns a detail that will soon be concealed, ask it before the crew proceeds past that point.
Contact Referred Restoration online
Frequently asked questions
How long does siding installation take?
Timing depends on the home’s size and layout, the scope, weather, and any conditions discovered after removal. Ask for a project-specific sequence and find out how schedule updates will be shared if circumstances change.
Should I stay home while the crew works?
Ask what access is needed and how the project lead will communicate. You may not need to remain at home throughout the work, but you should know how to reach the responsible contact and when decisions or a walkthrough are expected.
What if the crew finds damage beneath the old siding?
Ask the crew to identify and document the location, explain the proposed next step, and clarify whether it changes the agreed scope. Keep a written record of any approved revision before the affected area is covered.
How can I check whether the work is complete?
Walk each included elevation with the project lead, compare it with the scope, and note unfinished details or property concerns. Ask for available product and care information before closing out the project.
Siding installation is easier to follow when the scope, wall details, and review process are discussed in advance. A careful walkthrough helps you compare the completed exterior with the plan you agreed to.