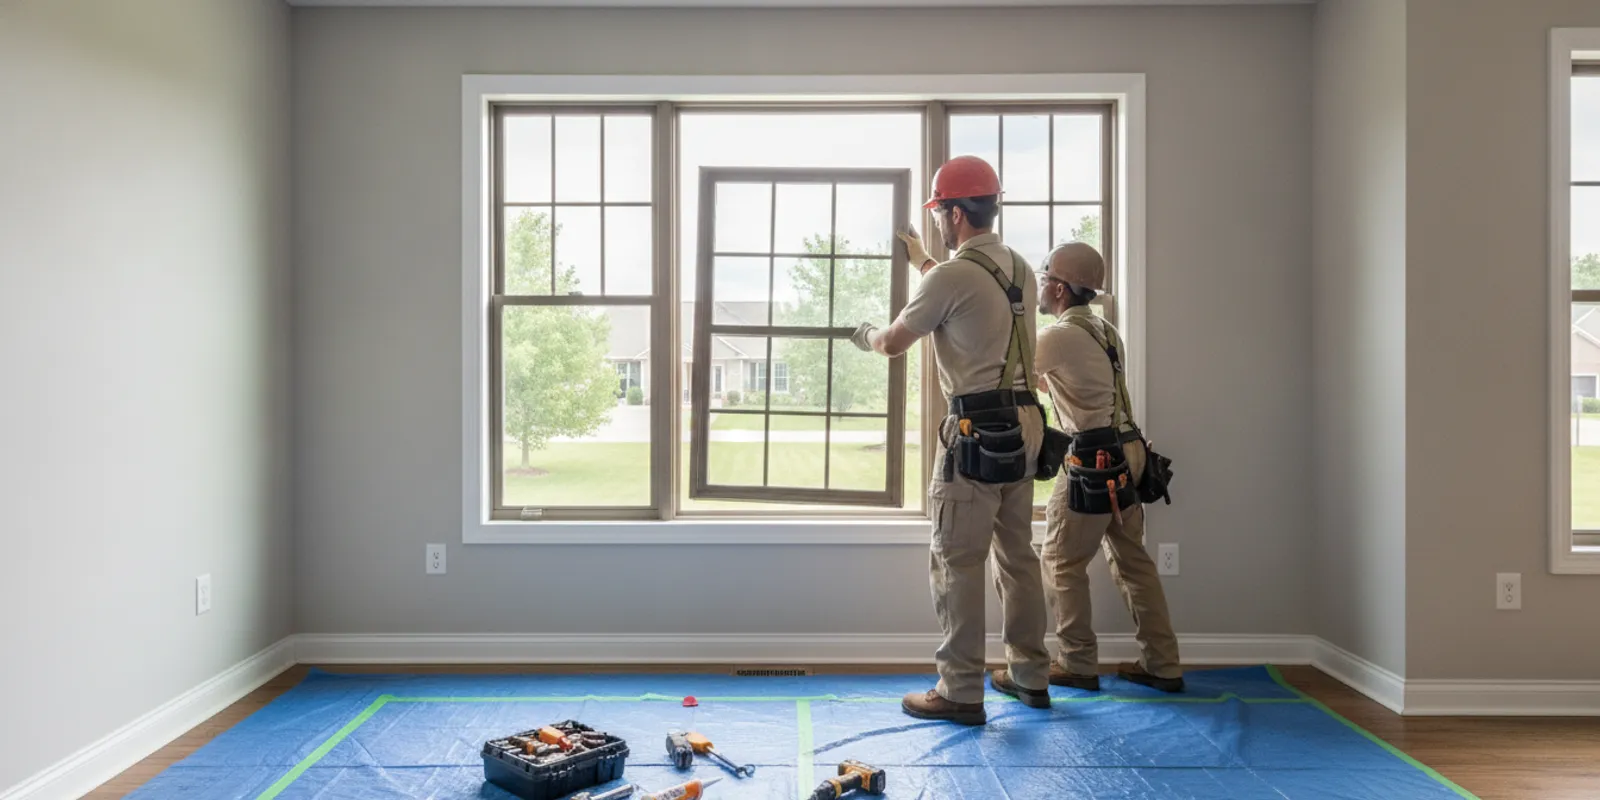
Window installation rogers mn involves more than placing a new unit in an existing opening. A well-organized project includes preparation, careful removal, inspection of the opening, fitting, fastening, sealing, finishing, cleanup, and a final operating check. Knowing what to expect helps you prepare your home and have a clearer conversation with the installation team.
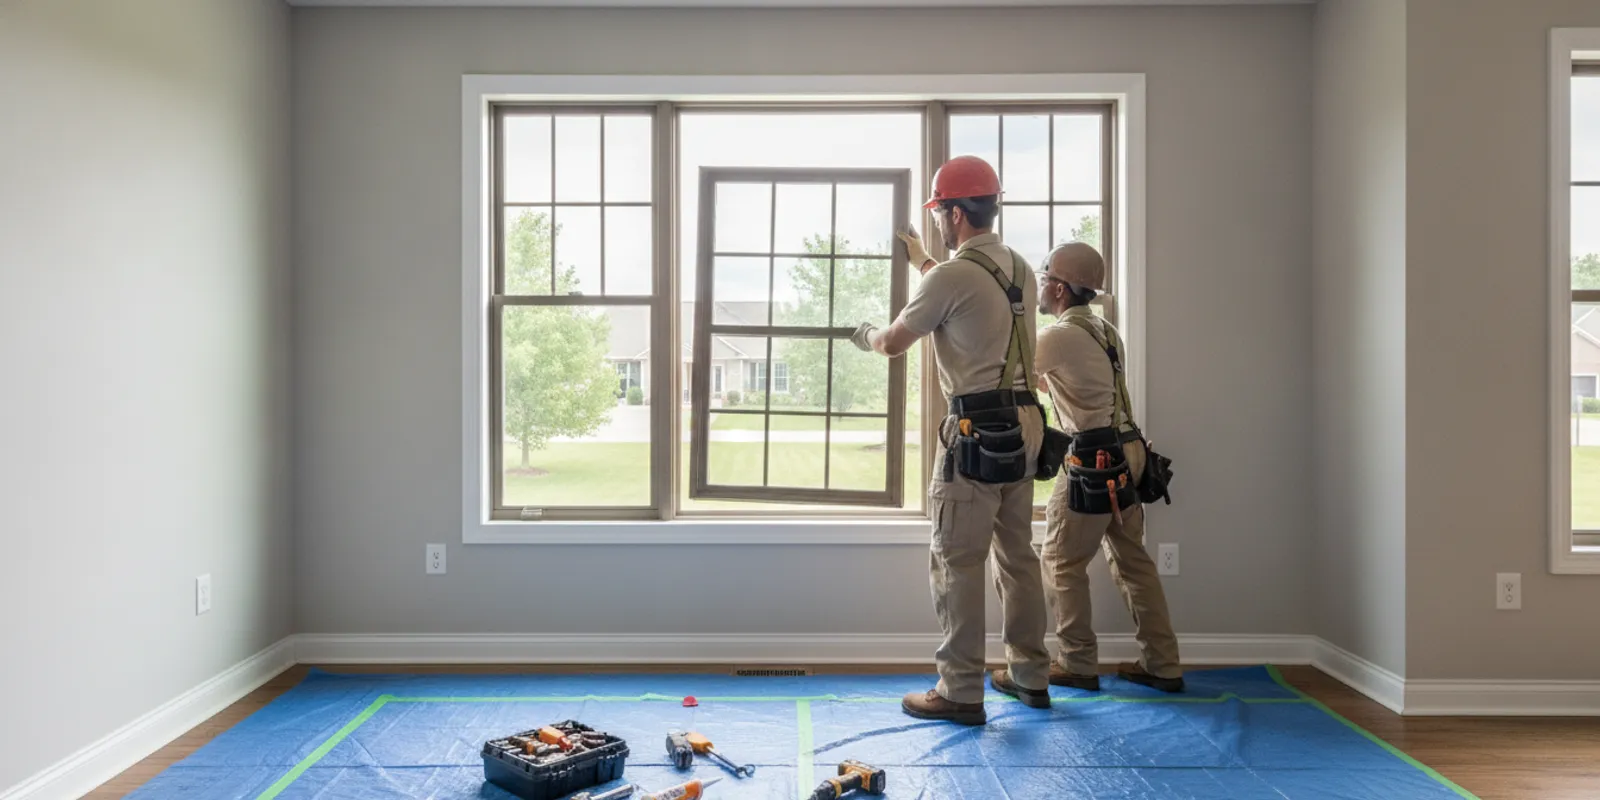
What should you do before the installation team arrives?
Start by making the work area accessible. Move furniture, lamps, decorations, rugs, and other belongings away from the window. The installer needs room to protect the floor, remove the existing unit, and bring materials in and out. A clear path also reduces the chance that household items will be damaged during the work.
Take down curtains, blinds, valances, and other window treatments unless the installer has confirmed that they can stay in place. Remove wall decorations near the opening as well. Vibration from removal and fitting can disturb items that are close to the window. If the window has a security sensor or other connected device, ask the installation team how it will be handled instead of disconnecting it yourself.
- Clear furniture and personal items from the interior work area.
- Remove window coverings and fragile decorations.
- Relocate electronics and protect nearby belongings.
- Keep children and pets away from tools, glass, ladders, and debris.
- Tell the crew about access concerns, alarms, or surfaces that need special protection.
- Arrange for an adult to be available for questions and the final walkthrough.
Outside, move toys, planters, patio furniture, and other obstructions away from the wall. The crew may need access for ladders or equipment. Minnesota weather can change quickly, so ask how the team will protect the opening if rain, wind, snow, or unsuitable temperatures interrupt an exterior step.
If you are still deciding whether the existing unit needs service or replacement, review this guide to signs you may need new windows. It can help you organize the symptoms you have noticed before an inspection.
What happens at the beginning of window installation in Rogers, MN?
The day should begin with a review of the work area and the agreed installation plan. The installer can confirm which window is included, how the room will be protected, where materials will be staged, and how debris will be handled. This is the right time to mention a difficult access route, a nearby outlet, a child’s room, or a previous leak.
The existing unit and surrounding trim may be examined before removal begins. A visual review can reveal moisture staining, damaged materials, uneven surfaces, or earlier repairs. Some conditions are not obvious from inside the room. If the crew finds something that changes the planned work, ask what was found, why it matters, and what correction is recommended before proceeding.
Installation can be noisy and dusty even when the room is carefully protected. If you work from home, have a meeting, or need a quiet place for a child, plan to use another area during removal and fitting. Keep the work zone closed to people who are not involved.
How is the old window removed?
The removal method depends on the existing window, the wall construction, and the agreed scope. The crew typically protects floors and nearby surfaces first. Interior or exterior trim may be removed carefully so it can be reused when appropriate, or so new finishing materials can be installed cleanly.
The sash, glass, frame, or complete unit is then removed in a controlled manner. Glass and old fasteners require careful handling. Homeowners should remain outside the work area while this is underway. The opening should not be left exposed longer than necessary, particularly when weather conditions are changing.
Removal is also when hidden conditions become easier to inspect. The installer may look for deteriorated framing, gaps, water damage, or an opening that is not level or square. These findings do not automatically mean the project must stop. They do mean you should understand the condition and any proposed change before additional work begins.
Keep the distinction between the window unit and the surrounding opening in mind. A frame can be in poor condition, while the nearby trim or wall assembly has a separate issue. For background on the component that moves within many window systems, see the homeowner guide to what a window sash is.
What should be checked before the new unit is fitted?
The opening should be checked before the replacement window is secured. The installer needs to confirm that the dimensions, support, alignment, and surrounding materials are suitable for the selected unit. The unit should not be forced into an opening that is too small or distorted to support it correctly.
- The opening has enough room for positioning and adjustment.
- The sill and surrounding framing are sound enough for the planned work.
- The opening is reasonably level, plumb, and square for the installation method.
- Old sealant, debris, or damaged material has been addressed.
- Water-management details can be completed at the transition between window and wall.
- The unit matches the approved size, style, operation, and opening direction.
Homeowners do not need to perform technical measurements themselves. They should ask for a plain-language explanation when the opening differs from expectations. If a change is recommended, ask whether it affects the schedule, the finish, or the agreed scope, and keep the answer in writing.
The opening is part of a larger wall assembly. The new window must be supported and sealed while still allowing the sash and hardware to move. A neat appearance alone does not confirm that the underlying installation is ready for finishing.
How is the replacement window fitted and secured?
After the opening is ready, the new unit is placed and adjusted. The installer checks that the frame sits in the intended position and is not twisted. Shims or other approved support materials may be used to maintain alignment while the unit is fastened.
Operation should be checked during fitting, not only after all trim is installed. The sash should open, close, and lock as intended. Testing early gives the installer an opportunity to adjust the frame before sealants and finish materials make access more difficult.
Fasteners and support details vary by product and existing construction. The practical question for a homeowner is whether the unit is supported securely without being distorted. Ask the installer to explain the basic operation, including how to open, close, lock, tilt, or remove any component that is designed for cleaning.
For a broader overview of the work sequence, you can read the guide on how to replace a window. A homeowner guide should not replace professional installation, but it can make the project vocabulary easier to follow.
How are air and water gaps sealed?
Sealing addresses the transition between the window and the surrounding wall. Depending on the product and assembly, the installer may use flashing, compatible sealants, backer materials, insulation, or other specified products. Each material has a different role.
Some details help manage water at the exterior. Others limit air movement or fill space around the frame. Visible trim and sealant provide a finish but do not perform every water-management function. Ask which areas will be addressed on the interior and exterior, and how the installation will direct water away from the opening.
Cold temperatures, snow, wind, and summer rain make exterior transitions important in Rogers. Sealants also need suitable conditions for application and curing. If weather interrupts an exterior step, ask how the opening will be protected and whether a follow-up visit is needed. The correct approach depends on the materials and the specific assembly.
Do not add foam, remove sealant, or make an improvised repair if you later notice a concern. Contact the installer first so the original condition can be evaluated accurately.
What finishing work should you expect?
Once the unit is aligned, secured, and sealed, the crew completes the finishing work included in the project. This may involve reinstalling existing trim, adding new trim, sealing visible joints, or making adjustments around the opening. The finished area should look intentional from inside and outside.
Interior finishing can expose differences between the old and new unit. Exterior finishing must meet the surrounding siding, cladding, or trim. If the window is part of a larger exterior project, discuss the order of work so one crew does not undo another crew’s finished work.
For related background, see the homeowner guide to exterior window trim and the guide to window sill materials. These resources can help you identify the visible parts of the finished opening, but the installer should explain which materials are included in your project.
Judge the result by more than the appearance of the trim. The unit should operate correctly, the edges should be reasonably even, and the agreed sealing and finish details should be complete.
Keep people away from tools, glass, ladders, and removed materials until the crew confirms that the work area is clear. An opinion in Stanford Law School’s archive discusses an injury involving a window ledge; while it concerns a different setting, it illustrates why window-area hazards deserve attention during work.
What should happen during cleanup?
Cleanup should be part of the installation conversation from the beginning. The crew should remove project debris according to the agreed scope and leave the room reasonably usable. Floors, sills, nearby surfaces, and the exterior work area should be checked for dust, sharp fragments, fasteners, packaging, and sealant residue.
Ask where old windows and removed materials will go. If anything remains on site for a later phase, it should be placed safely and away from walkways. Inspect the area outside before children or pets return. Some dust or minor touch-up work may remain in an older home, but the installer should tell you what is complete and what remains.
How can you complete a useful final check?
A final walkthrough lets you confirm the installation while the crew is still present. Work through the same basic checks inside and outside instead of judging the project from one view.
- Open and close the window several times.
- Test the lock and any tilt, ventilation, or cleaning feature.
- Check that the screen and included hardware fit properly.
- Look for unfinished gaps, missing trim, or visible damage around the opening.
- Confirm that the unit does not visibly bind or require unusual force.
- Ask how to care for the frame, glass, hardware, and sealant.
- Review any touch-ups, remaining work, or follow-up visit.
- Keep product information and installation documents in a safe place.
From outside, look at the relationship between the window and the surrounding wall. Trim should be secure, and visible sealant should be continuous where the agreed scope calls for it. From inside, check the sill and corners for obvious gaps, damage, or unfinished surfaces.
Which installation details should you compare before work begins?
A simple comparison can keep the conversation focused. The exact method depends on the existing opening and selected product, so use the table as a discussion guide rather than a substitute for an inspection.
| Project stage | What the team may do | What the homeowner should confirm |
|---|---|---|
| Preparation | Protect floors, clear access, and review the work area. | Which rooms, exterior areas, and belongings need to be cleared? |
| Removal | Take out the sash, glass, frame, or complete existing unit. | How will the opening and removed materials be kept safe? |
| Opening review | Check dimensions, framing, alignment, sill condition, and moisture concerns. | What happens if a hidden condition changes the planned work? |
| Fitting | Position, support, adjust, and fasten the replacement unit. | Does the window open, close, and lock without binding? |
| Sealing and finishing | Complete water-management, air-sealing, trim, and visible finish details. | Which interior and exterior details are included? |
| Cleanup and review | Remove debris and demonstrate operation and care. | What remains, and who should receive follow-up questions? |
How does Minnesota weather affect follow-up?
Some details are easiest to review immediately, while others become more noticeable after rain, wind, snow, or a change in temperature. Watch the area during the first several weather events. Look for water marks, unusual drafts, new trim movement, or a window that becomes difficult to operate.
If you notice a concern, take a photo and note when it appeared and what the weather was doing. Do not cover the area with new sealant or insulation before contacting the installer. An improvised repair can hide the original condition and make diagnosis harder.
Seasonal follow-up is also a useful reason to keep the project documents together. You should know what was installed, which care steps are appropriate, and how to report a question after the workday.
What questions should you ask before approving the work?
- Which window or windows are included in the work?
- What protection will be used for floors, furniture, siding, and nearby finishes?
- What happens if damage is found after the old unit is removed?
- Which interior and exterior finishing tasks are included?
- How will alignment and operation be checked?
- How will the opening be sealed for air and water management?
- What happens if weather interrupts an exterior step?
- What cleanup and follow-up are included?
- Who should receive questions after the crew leaves?
Written answers are useful when several windows or more than one type of work is involved. Keep the scope, product information, care instructions, and communication details together. If you are comparing repair and replacement, the window repair service page provides a relevant starting point for discussing whether the existing unit may be serviceable.
How can you choose the right next step for your Rogers home?
Start with the condition you can observe. Drafts, difficult operation, damaged frames, moisture concerns, and visible deterioration may have different causes. A professional assessment can help separate a unit problem from an issue involving trim, framing, siding, or another part of the exterior.
Referred Restoration provides exterior restoration services that include window repair and replacement. Homeowners can review the Cottage Grove window replacement information when that location is relevant, or visit the company’s Rogers service homepage for broader exterior restoration information.
The company describes a three-step process of free inspection, custom solution, and professional installation. You can use the free inspection contact page to start a conversation about the condition of your window and the work that may be appropriate.
What should you expect from a professional installation?
A well-managed installation is organized, careful with the home, and clear about unexpected conditions. The crew should protect the work area, explain changes to the opening, fit and secure the unit appropriately, complete the visible finishing work, and review operation before leaving.
Window installation in Rogers, MN is easier to manage when you know what to watch for without attempting the technical work yourself. Prepare the room, keep the work zone clear, ask for explanations when conditions change, and complete a careful walkthrough before the crew leaves.
Contact Referred Restoration online
Frequently Asked Questions
How long will window installation take?
The schedule depends on the number of windows, the type of units, access, removal conditions, weather, and the finishing work included. Ask for a project-specific plan rather than relying on a general schedule.
Can I stay in the home during installation?
Often, homeowners can remain in the home, but the work area will be noisy and should stay clear. Plan for children and pets to use another area while removal, fitting, and cleanup are underway.
What if the installer finds damage around the old window?
Ask the installer to show you the condition, explain why it matters, and describe the recommended correction before additional work proceeds. Keep any change to the planned scope documented.
When should I test the new window?
Test it during the final walkthrough. Open, close, lock, and use each included operating feature while the crew is present so questions can be addressed promptly.
What should I do if I notice a concern later?
Document the concern with notes and photos, avoid making an improvised repair, and contact the installer. Include when you noticed it and whether rain, wind, snow, or temperature changes were occurring.
With a prepared room, a clear scope, and a careful final check, you can approach a Rogers window project with a better understanding of what professional installation should include.