
Planning a roof project often starts with a simple question: how much roof area needs to be covered? An online tool can help organize that early research, but its result depends on the measurements and assumptions entered. Roof pitch, shape, overhangs, and separate roof sections can all change the planning estimate.
Contact Referred Restoration online if you want to discuss your planning questions with a qualified roofing professional.
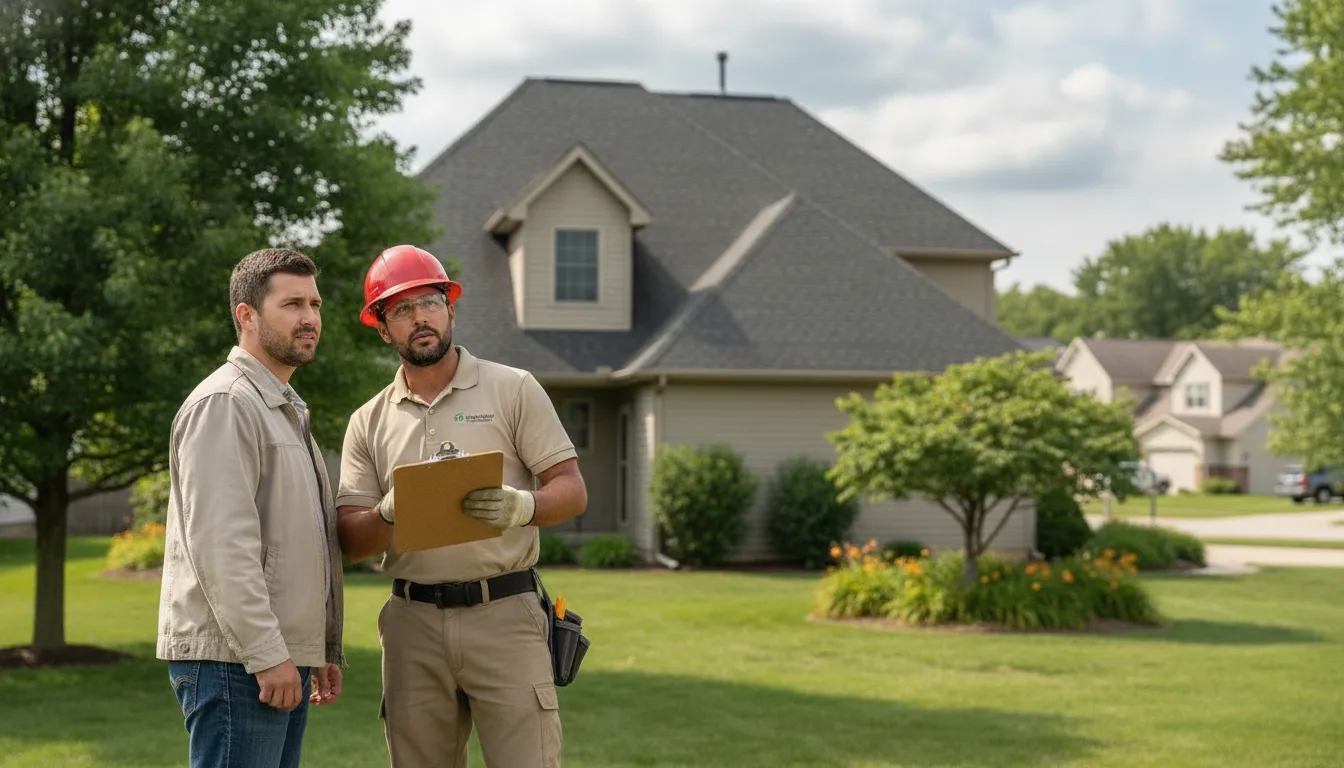
A roofing calculator estimates roof area and related material quantities from information such as building dimensions, slopes, and roof design. It is a planning starting point, not a quote, inspection, or definitive measurement.
For Minnesota homeowners, the most useful result is a clearer list of questions to discuss with a qualified contractor. Understanding what the calculator measures, and where it can miss real-world conditions, makes the next conversation more productive.
What Does a Roofing Calculator Estimate?
A roofing calculator turns basic roof information into a rough planning picture of the roof area and the materials that may be needed. It is useful when you are trying to understand the scale of a roofing project before discussing the details with a qualified contractor.
Most calculators begin with measurements such as the building footprint, individual roof sections, roof slope, and sometimes overhangs. You may also be asked to identify the roof shape or enter separate dimensions for areas that do not form one simple rectangle. The quality of the result depends on the quality and completeness of those inputs.
Square feet and roofing squares
The result may appear in square feet, roofing squares, or both. Square feet describe the measured area directly. A roofing square is a standard roofing unit equal to 100 square feet. To convert an area into squares, divide the square-foot measurement by 100.
For example, an area of 2,000 square feet represents 20 roofing squares before any additional allowance is considered. Calculators may use squares because roofing materials are commonly discussed and ordered by that unit. The result is still an area estimate, not a final material order.
Typical calculator outputs
Depending on the tool, the output may include estimated roof area, the number of roofing squares, and a planning quantity for materials. Some tools also separate roof sections or let you adjust assumptions such as edge dimensions and material coverage. These details can help you compare your measurements with a contractor’s discussion and identify information you still need to confirm.
Use the result as a planning starting point, not as a definitive measurement, inspection, or quote. An online tool cannot see concealed damage, unusual roof geometry, installation details, or site conditions. A professional assessment is needed before decisions are made about the actual scope and materials for a Rogers-area home.
Which Roof Measurements Matter Most?
A roofing calculator is only as useful as the information entered. Small differences in dimensions, roof shape, or unit selection can change the planning result, so record each input carefully and note any assumption you make.
- Start with the footprint. Measure the building length and width, or use reliable building plans when available. This gives the calculator a flat starting area, but it is not the complete sloped roof surface.
- Separate the roof sections. Do not treat a roof with multiple planes as one simple rectangle. Record each main slope, addition, dormer, or lower roof section separately when the calculator allows it. This makes unusual shapes easier to review and helps prevent one large dimension from hiding smaller sections.
- Record pitch, rise, and run. Roof pitch describes vertical rise compared with horizontal run, as explained by this University of Georgia roof-geometry reference. On a gable roof, the run is typically one-half of the building span, according to the same construction-math reference. For example, a 4:12 pitch rises four units for every twelve units of horizontal run.
- Include overhangs consistently. Decide whether your measurements stop at the exterior walls or include the roof edges. Overhangs are an input assumption, not a detail to leave implicit. Use the same approach for every section so the resulting areas can be compared fairly.
- Note penetrations and interruptions. Mark chimneys, plumbing vents, skylights, and other roof penetrations. They may not change the basic footprint, but they affect how the roof is divided and how confidently a calculator can represent the real layout.
- Choose and preserve the measurement units. Enter feet, inches, or fractional measurements exactly as the tool requests. Some calculator workflows accept feet, inches, and fractions, while others may offer imperial or metric settings. Do not mix inches and feet in the same field, and write down your unit choice before entering multiple sections.
Once the dimensions are organized, you can compare the result with shingle bundle quantity estimates. Treat the result as a planning baseline, not a definitive measurement.
How Do Roof Pitch and Shape Change the Planning Result?
Roof pitch changes the amount of surface that sits above the building footprint. Pitch describes vertical rise compared with horizontal run. For example, a 6/12 pitch rises six inches for every 12 inches of horizontal run, as explained in this academic roofing geometry guide. As the slope becomes steeper, the roof surface extends farther than a flat measurement of the footprint would suggest.
A roofing calculator uses that relationship to adjust the footprint toward the sloped surface area. The result can change even when the building length and width stay the same. This is why pitch is not a minor detail. Educational material from Wake Technical Community College also identifies roof pitch as a factor in roofing-material calculations. A calculator that assumes the wrong pitch can therefore produce a planning result that does not match the actual roof.
Shape changes the assumptions, too
A simple gable roof has two broad slopes and a relatively straightforward layout. Hips and valleys divide the roof into additional planes, while dormers add smaller roof sections that must be measured separately. Each change can introduce more edges, intersections, and cuts. Those details affect how the roof is divided into measurable areas and how materials fit together.
Complex shapes also make it easier to overlook a section or count an area twice. A roof with several valleys may need different measurements for each plane rather than one overall length and width. Dormers require attention to both their main slope and the surrounding roof surfaces. These are reasons two calculators can produce different results when they use different assumptions about sections, edges, or overhangs.
For a useful starting point, note the pitch and identify every distinct roof plane before entering measurements. You can also review this guide to roof pitch and shingle coverage before comparing calculator results. Treat the output as a planning aid, then confirm unusual roof shapes and complex intersections with a qualified professional.
Can You Measure a Roof Safely From the Ground?
Yes, you can develop a useful planning estimate from the ground, but safety comes first. Do not climb onto the roof, walk on shingles, or use a ladder to reach a measuring point simply to improve a calculator input. From the yard or driveway, combine building plans, visible dimensions, and conservative observations instead.
Start with plans and ground-level dimensions
If you have construction plans, look for the building span, length, roof sections, and stated pitch. On a simple gable roof, the horizontal run is one-half of the building span. This relationship is used in standard roof geometry guidance from the University of Georgia: the run is half the span.
When plans are unavailable, measure accessible ground-level walls instead. Record the length and width of the main footprint, then note attached garages, porches, lower additions, and any roof sections that appear to have a different shape. Keep each section separate rather than forcing an irregular roof into one rectangle.
Use pitch information without approaching the roof
Pitch describes vertical rise compared with horizontal run. For example, a 6/12 pitch means six units of rise for every twelve units of horizontal run, as explained in this roofing geometry reference. If you know the pitch and a measured run, basic proportional geometry can solve for the rise. A calculator can then use that relationship to estimate the sloped surface area.
From the ground, use binoculars only if they help you identify roof sections, vents, valleys, dormers, or overhangs. Do not guess that a roof is simple because its front elevation looks simple. Snow, ice, wind, and heavy precipitation make Minnesota roof conditions especially important to evaluate in person.
The result remains a planning starting point. A roofing calculator cannot see concealed damage, uneven planes, flashing conditions, ventilation details, or material layers, so it cannot replace a professional assessment by a qualified roofing contractor.
How Should Minnesota Homeowners Use Calculator Results?
Use the result as a planning baseline, not as a final measurement or contractor assessment. A roofing calculator can help you organize roof dimensions, compare different assumptions, and prepare focused questions for a professional. It cannot see concealed damage, aging underlayment, ventilation concerns, or details that are difficult to measure from the ground.
That distinction matters in Minnesota. Freezing winters and heavy precipitation place demanding conditions on residential roofs, so the number on a screen is only one part of a sound plan. Homeowners in Rogers and nearby communities, including Cottage Grove, St. Francis, and Monticello, should use the result to guide the next conversation rather than make a final material decision from it.
| Planning task | What a roofing calculator can help with | What a contractor should confirm |
|---|---|---|
| Organize basic dimensions | Turn footprint, slope, overhang, and roof-section measurements into a rough area or square count. | Verify measurements, roof geometry, and areas that were inaccessible or estimated from the ground. |
| Prepare for material discussions | Show how changes in pitch, roof shape, coverage assumptions, or waste settings affect the planning result. | Confirm the selected product, actual coverage, flashing, ventilation, underlayment, and other scope details. |
| Think through Minnesota weather | Help you identify questions about drainage, snow and precipitation exposure, and seasonal timing. | Evaluate the roof’s condition and recommend an approach suited to the home’s construction and local weather demands. |
| Plan the next conversation | Give you a written list of inputs and assumptions to bring to an inspection or consultation. | Provide an honest assessment and explain whether repair, replacement, or additional investigation is appropriate. |
Keep a copy of the inputs beside the result. If you change the assumed overhang, pitch, or roof sections, note the change so you can explain why two calculations differ. You can also review this Minnesota reroofing planning guide for related questions about scope, drainage, permits, and project sequencing.
Referred Restoration offers free roof inspections with honest assessments and recommendations. A calculator can help you arrive prepared, while an inspection helps connect the planning baseline to the roof that is actually there.
When Should You Move From a Calculator to an Inspection?
A roofing calculator is useful while you are gathering questions, but several signals indicate that planning should give way to an in-person assessment. The clearest is uncertainty about the inputs. If roof dimensions are estimated or measurements are incomplete, the result can describe an assumption rather than your actual roof. The same applies if you are unsure whether an overhang, attached garage, or separate roof section was included.
Your roof is more complex than a simple shape
Multiple slopes, hips, valleys, dormers, additions, skylights, chimneys, and other penetrations make it harder to measure each section consistently. A calculator can process the numbers you enter, but it cannot confirm whether every plane was included or assess how the sections meet. Complex geometry also creates more places where the visible surface may not tell the whole story.
You see damage or signs of moisture
Move promptly to an inspection after hail, high winds, falling branches, or other storm events. The same applies when you notice missing or damaged shingles, exposed material, staining on ceilings, damp attic insulation, or water entering during rain. Do not climb onto a wet or damaged roof to improve your measurements. A ground-level observation is enough to identify a reason for professional follow-up.
The planning assumptions no longer match the home
Calculator results describe the dimensions and conditions you supplied. They do not confirm the roof’s underlying condition, ventilation, flashing, decking, or the scope of work that may be appropriate. Actual scope and material choices affect the assessment, which is why Referred Restoration offers roofing inspections and repairs with honest assessments and recommendations. For Minnesota homes facing freezing winters and heavy precipitation, an inspection can help replace assumptions with a clearer plan.
Contact Referred Restoration online to discuss a free roof inspection.
Frequently Asked Questions
What information does a roofing calculator need?
Most tools use the roof footprint, individual roof sections, pitch, overhangs, and the units for your measurements. Roof shape, dormers, valleys, chimneys, and other penetrations can also affect the planning result. If you do not know a measurement, note the assumption rather than treating an estimated value as verified.
Can I use a roofing calculator if I cannot safely access my roof?
Yes. You can begin with ground-level observations, building plans, or measurements taken from a safe location. Do not climb onto a roof to collect data for a calculator. A ground-based estimate is useful for early planning, but it cannot confirm concealed damage, exact dimensions, or the condition of the roof system.
Why can two roofing calculators show different results?
Calculators may use different assumptions for pitch, overhangs, roof sections, waste, and measurement units. A simple gable roof may be easier to model than a roof with hips, valleys, dormers, or several penetrations. Compare the inputs before comparing the outputs, and keep the result as a planning baseline rather than a definitive measurement.
When should I ask a contractor to review the result?
Ask for a professional review when the roof has a complex shape, visible damage, storm concerns, uncertain measurements, or signs of moisture. Minnesota weather can make roof condition especially important to verify. A qualified contractor can inspect the roof, confirm the actual scope, and explain appropriate next steps based on the home’s condition.
Ready to Discuss Your Roof Inspection?
A roofing calculator can help you organize questions and prepare for a conversation, but an on-site assessment adds context that a planning estimate cannot provide. Referred Restoration can help you review the roof’s condition and identify practical next steps for your Minnesota home.
Contact Referred Restoration online to discuss a roof inspection after using your calculator results as a starting point.