
Unprotected siding edges can let harsh Minnesota winter moisture rot your home wood framing. Without the proper finishing pieces, even the highest quality panels cannot keep rain and snow out of your walls. These small components are what truly seal and secure your home exterior.
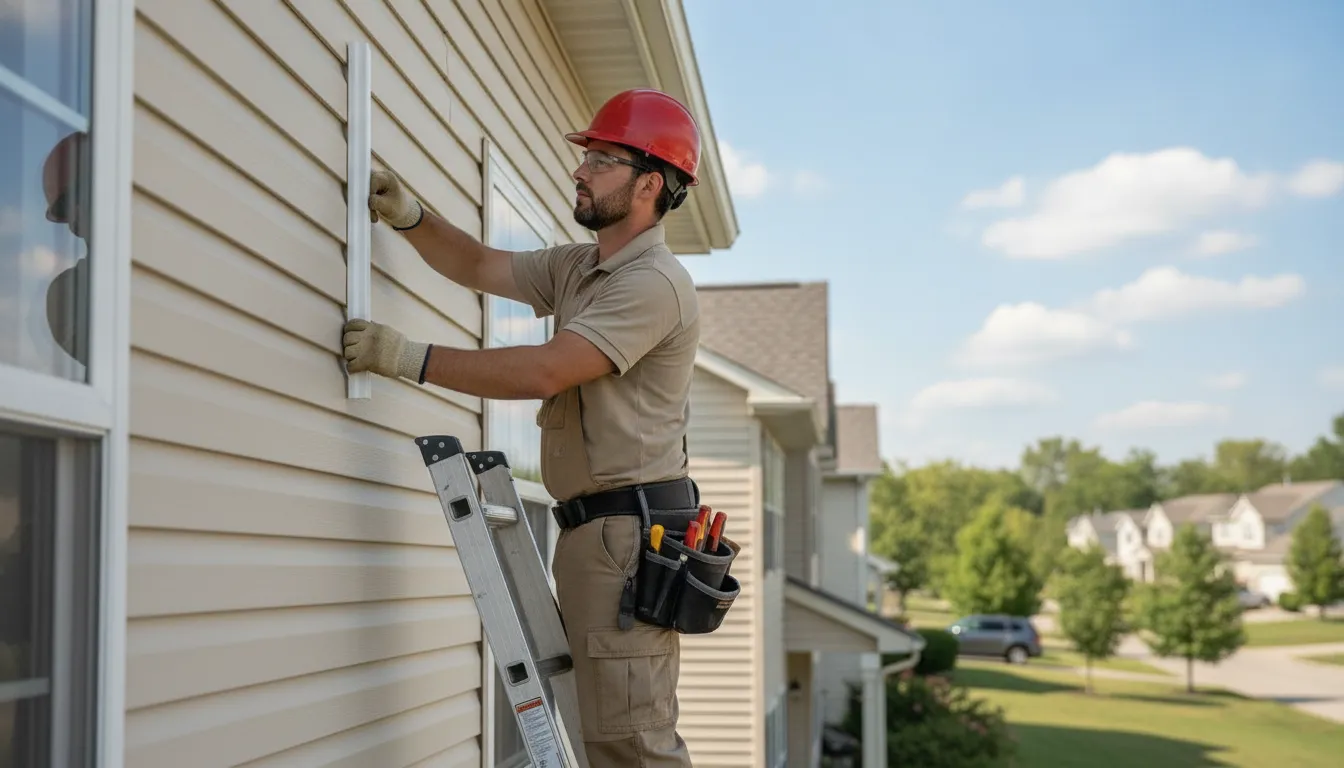
Vinyl siding trim is a system of specialized vinyl pieces, including corner posts, J-channels, and starter strips, that protect your home from severe weather. These parts cover the exposed joints where panels meet windows, doors, and rooflines to prevent wind and heavy rain from slipping inside your walls. According to the Vinyl Siding Institute installation manual, these parts are vital for creating a professional, weather-resistant facade that keeps water from getting behind siding. Properly installed trim also allows the siding panels to expand and contract naturally as outdoor temperatures change throughout the year without buckling. This complete trim network is what turns separate panels into a fully sealed, durable protective shell that keeps your house safe from moisture.
How do you know which specific pieces your home actually needs to stay dry? To help you understand how these parts work together, let’s look at the basic definition of What Is Vinyl Siding Trim? first. The breakdown starts with
Schedule your free siding inspection in Rogers, MN today.
What Is Vinyl Siding Trim?
What is vinyl siding trim? When you look at a finished house, you see the main siding panels. But you also see other, smaller vinyl parts that finish the job. These parts run around the windows, along the roof, and on the corners of the home.
Together, this set of parts is called vinyl siding trim. It plays a key role in shielding and sealing your home to protect your structure.
The Parts That Make Up Your Trim
A standard home needs many small pieces to finish a job. These pieces are special accessory shapes. Each shape has a clear job to do.
- J-channel: This is a shape that holds the ends of the siding panels. It runs around doors and windows.
- Corner posts: These tall pieces cover the upright outer corners of your house.
- Starter strips: These long metal or vinyl pieces lock the very first row of siding at the bottom of the wall.
- Undersill trim: This piece holds the top edge of a siding panel where it meets the roof line or window sill.
- Drip caps: These small parts guide rain away from the tops of doors and windows.
All of these parts work together. When you plan a vinyl siding trim installation, you must select the right shapes to match your main panels.
Creating a Weather-Resistant Barrier
Siding alone cannot keep water out of your walls. Rain and wind can sneak behind panels where they end at windows or roof lines. This is why trim is so vital. It seals the edges of the panels to keep dampness out.
According to industry guidelines from the Vinyl Siding Institute, these trim parts are key to creating a professional-looking and weather-resistant facade for any building. The trim blocks rain, snow, and wind-driven dampness. In places like Minnesota with high snow and wet seasons, this water barrier stops rot before it can start.
Protecting Your Home Walls and Framing
Vinyl trim does much more than just block water. It also helps manage the shifting of your home. Homes expand and shrink as the weather shifts. Siding panels must be free to slide back and forth when this happens.
Trim pieces hide the ends of these moving panels. Without this special trim, your siding would warp or buckle as the wood underneath shifts. By using a complete system, your home stays safe, dry, and looking sharp for years.
Why Does Vinyl Siding Trim Matter for Minnesota Homes?
Every part of your home exterior plays a role in keeping your house dry and safe. Siding panels cover the main walls, but they cannot do the job alone. The edges, corners, and areas around windows need extra shield to block rain and pests. This is where vinyl siding trim becomes the key to a strong home. Choosing the right trim parts keeps your home safe and looks great. It is the final touch that makes your property stand out on the block.
The extreme Minnesota climate
Minnesota weather is tough on building materials. In our state, winter temperatures can drop to 3°F, while summer heat often reaches 83°F. This huge shift means materials must stretch and shrink. Along with these huge temperature shifts, we face about 43 inches of snowfall and 32 inches of rain each year. Minnesota also ranks third in the nation for hail events. These harsh shifts put constant stress on your house, making durable materials a must. Without the right setup, storm winds can tear siding loose. Heavy snow can also build up and press against the walls.
How trim creates a weather seal
Your siding panels must expand and contract as the temperature changes. Without room to move, the panels will warp or buckle. Trim pieces seal the gaps while letting the panels slide back and forth. This seal keeps wind and water from getting behind the vinyl boards. If water gets in, it can rot your wood frame and cause mold. Homeowners can spot early wear by inspecting your vinyl siding trim after a bad storm. Damaged trim should be fixed quickly to avoid major leaks. Using correct trim parts is needed to create a water-resistive facade that protects your walls from moisture. This keeps your home dry and cozy in any weather.
Local building codes and guidelines
Every siding project in Minnesota must meet strict quality standards to keep homes safe. To ensure safety and performance, the work must follow siding manufacturer instructions as well as local rules. Building codes exist to protect your home from high winds and heavy snow. These laws specify how to secure each piece of vinyl. Qualified contractors know how to balance these rules. They make sure every corner post and J-channel fits right. This professional care keeps your home safe and guards its value for years to come. Working with experts gives you peace of mind.
What Are the Main Types of Vinyl Siding Trim?
Every home wall needs a proper finish to stay strong against the weather. Vinyl siding panels cannot do this job alone. A full line of trim pieces works to protect your home from wind and water.
Using different trim parts is key to a good setup. These pieces are vital to form a weather-resistant building facade. They also help give your home a clean, professional look. Choosing the right vinyl siding trim prevents rot and keeps walls dry.
Channel and corner pieces
The J-channel is a very common piece. It gets its name from its shape. Installers use J-channel to cover the cut edges of siding panels around windows and doors. This covers rough cuts and stops water from getting behind the boards. Corner posts do a similar job at the edges of your house. They join the siding panels that meet at each corner to keep them secure.
Starter and closure strips
Starter strips are the foundation of your siding system. They go at the bottom of the wall, before the first panel is put in place. The bottom edge of the first panel locks into the starter strip. This keeps the siding straight and holds it tight against the wind. It ensures that the rest of the siding stays level as you build upward.
Undersill trim and drip caps seal the top and bottom of your siding panels. Undersill trim, also called utility trim, holds the top edge of panels where they meet the roof line or window sill. Drip caps are flashing pieces that sit over doors and windows. They shed water away from the wall to prevent leaks. Proper use of these pieces keeps the interior of your walls completely dry.
Siding trim comparisons
To help you choose the right parts, the table below compares each trim type. Knowing what each piece does can help you plan a strong siding system.
| Trim Type | Main Purpose | Where It Is Used | Why It Matters |
|---|---|---|---|
| J-Channel | Covers cut siding edges | Around windows, doors, and openings | Hides rough cuts and stops water leaks |
| Outside Corner Posts | Joins siding panels at corners | On external house corners | Seals corner joints and adds strength |
| Starter Strips | Secures the first siding panel | At the bottom of all walls | Locks panels in place to resist high winds |
| Undersill Trim | Holds top cut edges of panels | At the roof line or under windows | Keeps siding secure and prevents sagging |
| Drip Caps | Sheds water away from openings | Over window frames and door frames | Prevents water from seeping behind walls |
How J-Channel and Corner Posts Finish Your Siding
Vinyl siding trim keeps your home safe from rain and wind while giving it a clean look. The two most common trim pieces you will see on a house are J-channel and corner posts. These parts hide raw, cut edges of siding panels and seal the weakest spots on your outer walls.
Understanding J-channel trim
J-channel is a useful type of vinyl siding trim that plays a vital role on your home. Workers use J-channel to cover the cut edges of siding panels around windows, doors, and other wall openings. According to the VSI installation guide, this trim is key for creating a clean and finished look. Without it, the rough, cut ends of your siding would be open to the elements.
If you notice gaps or damage near your windows, you may need a window trim repair and replacement service. Proper trim keeps water from sneaking behind your siding and rotting the wood frames.
This trim profile also runs along the angled rooflines of your gables. When siding meets the roof at a slant, the panels must be cut to fit the angle. J-channel fits over these cuts, hiding the uneven edges and keeping the lines straight. This channel holds the panels tight while letting them slide as they warm up and cool down.
Finishing corners with corner posts
Outside corner posts seal the corners of your house to keep rain out. They create a neat, straight line where two walls meet. Inside the post, deep channels receive the ends of your siding panels. These channels hide cut edges while letting the vinyl expand and contract.
When crews set up these parts, they must follow clear rules. For example, corner posts should extend one quarter of an inch below the bottom of the siding. This small gap allows water to drain out and keeps the trim from buckling against the ground. Well-hung posts ensure that your entire siding system remains strong and dry during heavy storms.
If you notice your corner posts are loose or cracked, inspecting your vinyl siding trim after a storm is a smart first step. Damaged corners can let wind and rain seep behind your walls, which leads to rot.
Roof and wall intersections
Where a roof meets a wall, water runoff is a major threat to your home. To keep water out, crews must install metal flashing before they put up the J-channel. This layered setup guides rain down the roof and away from the wood framing of your walls. If you install the J-channel first, water can seep behind the trim and cause hidden rot.
Proper planning is a key part of any vinyl siding trim installation project. Skilled crews know how to layer these parts to keep your house dry in any weather. Working with a skilled team ensures that your flashing, J-channels, and corner posts work together to defend your home from harsh winters.
How Do Professionals Install Vinyl Siding Trim?
Putting up siding trim takes great skill and care. Do you want a clean look that keeps out Minnesota rain and snow? Hiring a professional vinyl siding installer is the best choice. Here is how experts get the job done right.
Key preparation steps
Before any panels go up, the crew must prep the walls. First, they seal the house with a weather wrap to protect wood framing from moisture. Next, they snap chalk lines to make sure each piece is straight. If the base is not straight, the whole wall will look crooked.
Every step must meet local building rules. In Minnesota, the climate gets cold in winter and hot in summer. Siding moves a lot as the weather changes. That is why experts follow local building codes and the maker’s guide to keep your warranty safe.
The step-by-step trim process
An expert crew puts up each piece of trim in an exact order to prevent water leaks. This process keeps the system strong and dry.
- Set the starter strip: The worker snaps a level line and nails the starter strip at the bottom of the wall. This strip holds the first course of siding in place.
- Install the corner posts: Workers put up corner posts next. These posts must extend at least 1/4 inch below the siding to drain water. This rule comes from the VSI installation manual.
- Hang J-channel around openings: The crew fits J-channel trim around all windows and doors. This channel hides the cut ends of the siding panels and keeps water out.
- Leave fastener clearance: Workers leave about 1/32 inch of space under nail heads. This dime-thickness gap lets the vinyl move back and forth without bending.
- Allow for panel movement: The crew leaves a minimum 1/4 inch gap at all openings and stops. This space lets the vinyl trim expand and contract safely when the weather swings.
- Keep nail heads proud: Builders drive nails so the heads are about 1/16 inch proud of the vinyl. Nailing the trim too tight will cause the plastic to warp or crack.
- Flash at the roof line: Workers put metal flashing in place before they attach J-channel where a wall meets a roof. This step stops water from leaking behind your siding.
Why precise nailing matters
Proper nailing is the key to a long-lasting siding job. If a worker nails the trim too tight, the vinyl cannot slide. On a hot summer day, the panels will swell, warp, and buckle. This ruins your home’s curb appeal and lets rain leak inside.
Expert crews use exact tools and steps to make sure each nail is set right. They check the spacing on every single nail. This careful work keeps your home safe and dry for decades.
How to Choose the Right Vinyl Siding Trim for Your Home
Choosing the right vinyl siding trim can make or break your home upgrade. In the Rogers, Minnesota area, your trim does more than just look good. It must stand up to bitter winter cold, heavy summer rain, and sudden hail storms. The right trim keeps water out and holds your panels tight. You need to think about color, style, and fit when making your choice. Taking time to plan now will protect your home for years to come.
Color matching and style
You can match your trim to your main siding color for a clean, simple look. Or, you can pick a different color to highlight your windows and roof line. For example, white trim around windows looks crisp next to dark siding. You also need to look at other parts of your home. If you are doing window trim repair and replacement, matching your siding trim is a smart move. A unified style adds curb appeal and value to your house.
Corner profiles and style selections
Corner profiles come in different sizes and shapes. Standard corners are three inches wide, but you can choose four or five-inch corners for a bolder look. You can also pick between a smooth, flat look or a fluted style with grooves. Your choice depends on the age and style of your home. Traditional homes often look best with fluted trim, while modern homes look better with clean, smooth lines. Choosing the right profile helps your house stand out in your neighborhood.
Corner pieces are vital parts of this setup. These parts finish the junction between vertical and horizontal strips at building corners. This design forms a continuous barrier to block wind and rain. This standard method is detailed in academic research on corner patents. Strong corners keep your home safe from harsh Minnesota weather. They hold the siding ends secure during high winds.
Building codes and manufacturer rules
Your new siding trim must do more than just look nice on your home. Every part of your siding setup must meet local rules. Homeowners must make sure that all vinyl siding trim work follows manufacturer instructions and local building codes. This is crucial for local climate safety. Following these rules ensures your trim lasts and keeps your home dry. Local inspectors in the Rogers area look at these details closely. Proper installation protects your home and keeps your warranty valid.
Get your free siding inspection started now.
Frequently Asked Questions
What is the trim on siding called?
Siding trim is the name for the plastic parts that finish a siding job. These pieces include starter strips, corner posts, and J-channels. According to a guide by the Vinyl Siding Institute, these parts work to give your home a clean look and make a water-tight wall.
What are the different types of vinyl siding trim?
The main types of trim are starter strips, corner posts, and J-channels. Starter strips hold the first row of siding at the bottom. Corner posts cover the areas where two walls meet. J-channels hold siding around windows and doors. You also use finish trim at the top of a wall to lock the last siding panel in place.
What is vinyl siding J trim used for?
This trim is a track shaped like the letter J. It covers the cut ends of siding panels around windows, doors, and roof lines to keep rain out. According to the Vinyl Siding Institute, you must install metal flashing before this trim along a roof line to stop water leaks.
How do you finish vinyl siding corners?
You finish outside and inside corners with corner posts. These tall pieces have side channels that cover the ends of the siding panels. According to a patent found on PubChem, these pieces form a barrier that keeps out wind and rain. The posts must also hang down a quarter of an inch below the bottom siding panel.
Why is trim essential for vinyl siding installation?
Trim is vital because it seals the gaps around windows, doors, and corners where water could leak in. It also allows the siding to grow and shrink as the weather changes. According to the guidelines on Polymeric Exteriors, proper trim setup must follow both the maker’s rules and your local building codes.
Ready to protect your Minnesota home?
Damaged trim lets seasonal rain and snow slip behind your vinyl panels, which slowly rots your wood framing and creates major mold problems. Taking action today ensures your home exterior is completely sealed and protected before freezing winter temperatures and heavy snowstorms hit our state. A professional siding inspection helps you find these weak points early so you can keep your family warm and secure all year long.