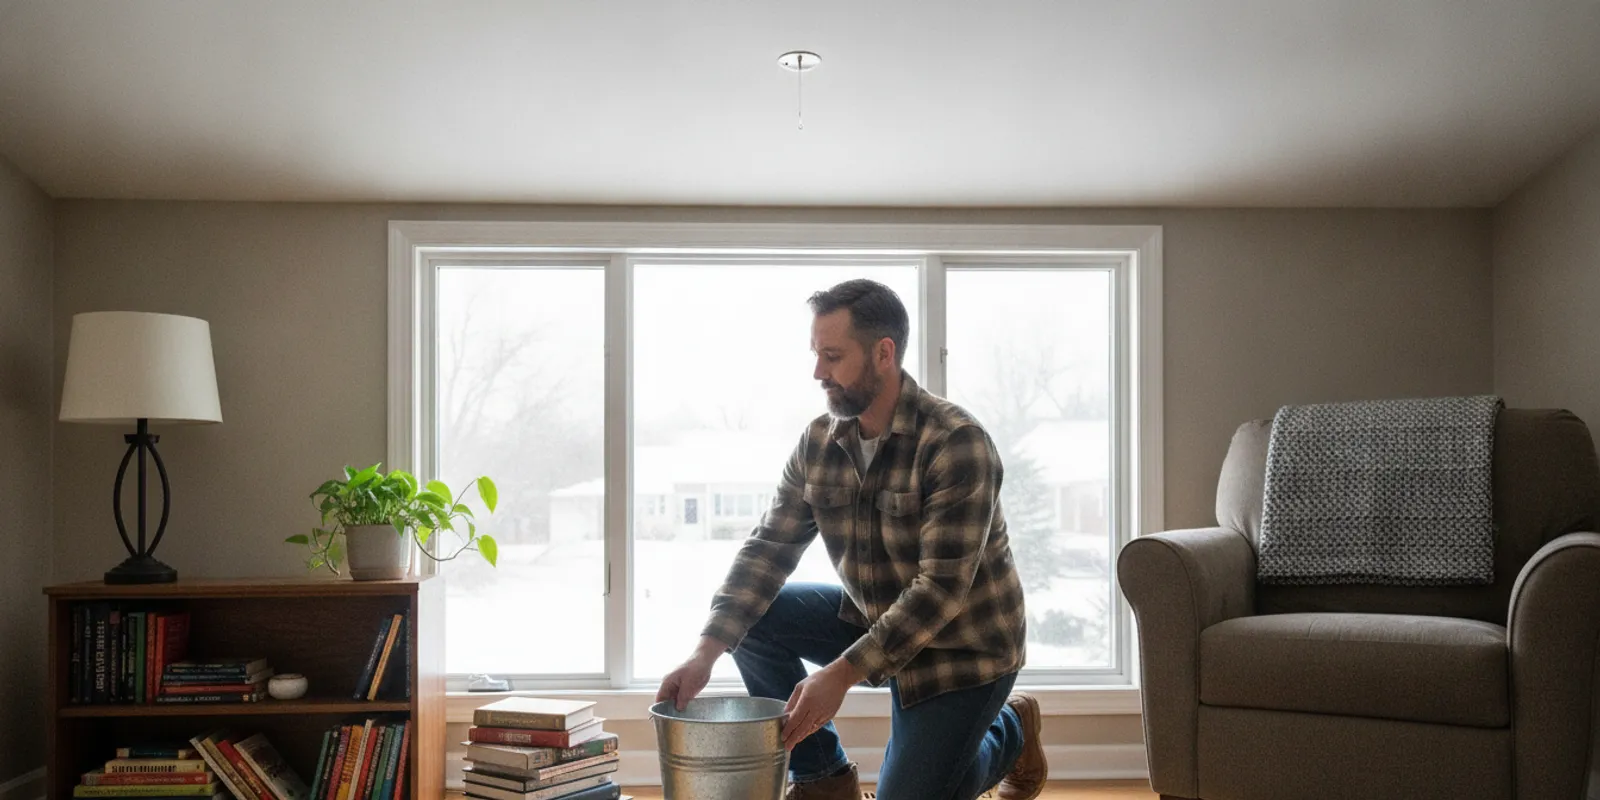
A roof leak can be unsettling, especially when water is already reaching a ceiling or wall. If you are searching for how to repair roof leak damage, start with safe first-response steps—not a climb onto a wet or icy roof. Contain water indoors, protect people and belongings, document what is happening, and arrange an appropriate inspection. The visible drip may be far from the opening that lets water in, so a quick patch is not always a lasting repair.
Contact Referred Restoration to discuss a roof leak
What should you do first when you notice a roof leak?
Begin by checking for immediate hazards and limiting damage inside the home. Do not assume the leak is harmless because the drip is small. Water can spread above a ceiling, soak insulation, affect finishes, and reach electrical equipment before it becomes obvious in the room.
- Keep people clear of danger. If a ceiling is bulging, sagging, cracking, or shedding material, move everyone out of that area. Do not stand under it or poke it. If water is near a light fixture, outlet, appliance, or electrical panel, keep away and contact a qualified electrician or emergency services as appropriate. Do not touch wet electrical equipment.
- Move belongings. Relocate furniture, electronics, rugs, and valuables if you can do so without entering an unsafe area. Use a plastic sheet or other barrier to protect items that cannot be moved.
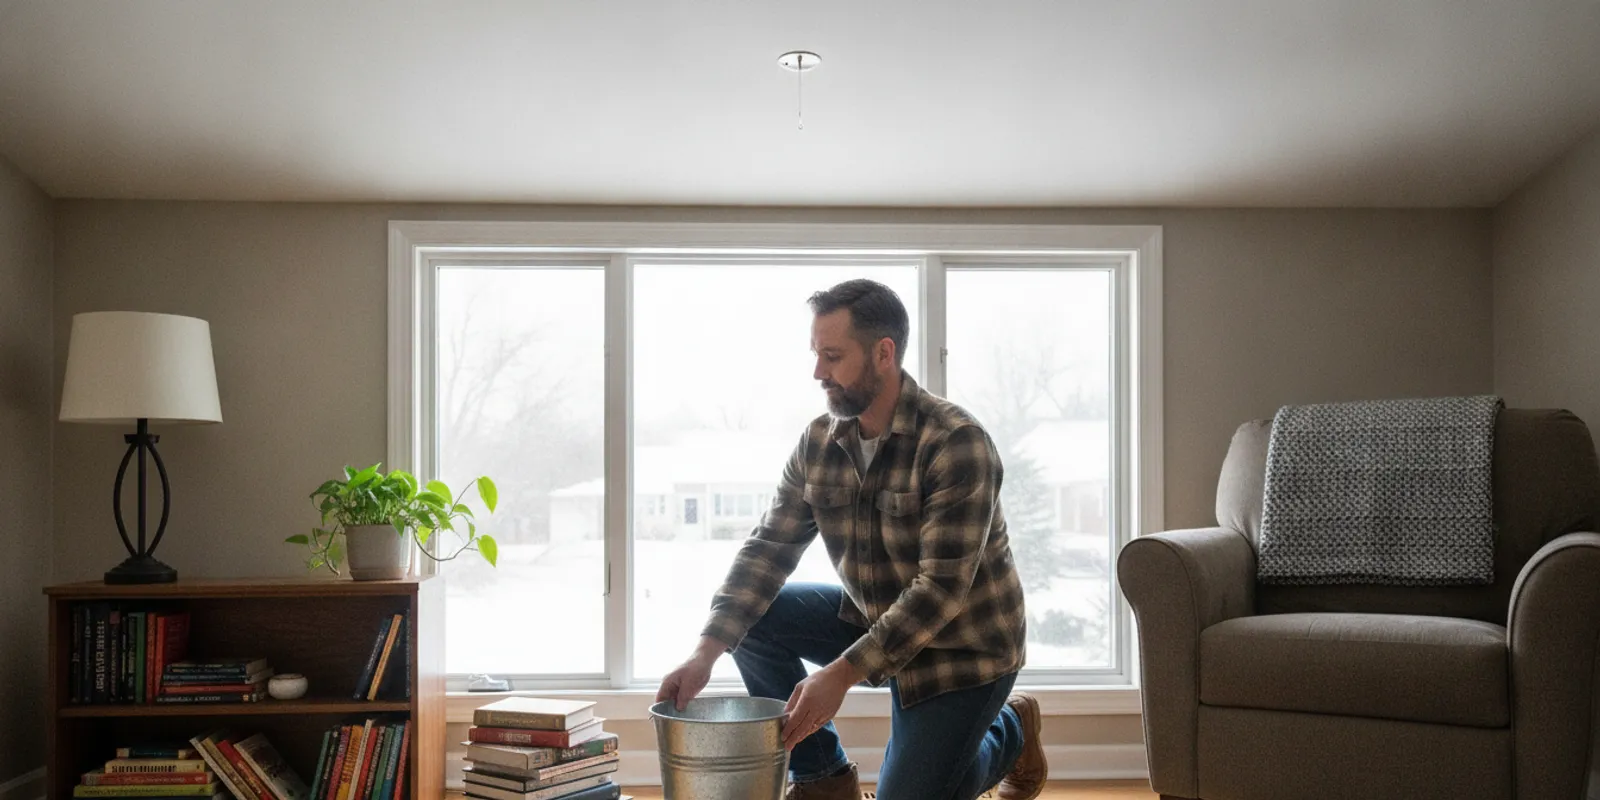
- Catch water safely. Place a bucket or waterproof container under a steady drip. Put towels around it to catch splashes. Empty the container before it overflows, and avoid putting a container beneath a ceiling that appears unstable.
- Reduce further indoor damage. If water is coming through a ceiling, do not cut or puncture the ceiling yourself. A water-filled area can release suddenly, and hidden wiring or framing may be present. If the leak is active, focus on keeping the area clear and getting professional guidance.
- Record what you see. Take photos or video of the water, stains, affected belongings, and the room. Make a note of when you first noticed it and whether rain, melting snow, or another event was occurring.
These steps are temporary protection, not a roof repair. They help you keep the situation organized while a qualified professional works to identify the entry point and determine what repair is appropriate.
Should you go onto the roof to stop the leak?
Usually, no. A wet roof can be slippery, and Minnesota conditions can add snow, ice, wind, or cold surfaces. Even a roof that looks dry from the ground may have slick areas or unstable materials. A fall can cause serious injury. Do not climb onto the roof during a storm, in the dark, when it is wet or icy, or if you lack the right equipment and experience.
Instead, observe the roof from the ground or from a safe window. Use binoculars or a phone camera with zoom if useful, but do not lean out of a window or climb a ladder to get a better view. Note visible changes such as displaced shingles, damaged flashing, debris, or a branch resting on the roof. A ground-level view cannot confirm the cause, but it can provide useful context for an inspection.
Do not try to cover a roof opening with a tarp yourself if reaching it requires climbing. Temporary coverings can catch wind, shift, or create another hazard when installed improperly. A professional can decide whether temporary protection is appropriate and how to place it safely. For roof concerns in the area, see roof repair information for Rogers homeowners or the company’s Rogers roofing service page.
How can you limit water damage inside the home?
Once everyone is safe, focus on containing water and protecting the affected room. A simple, repeatable approach can prevent a small drip from spreading unnoticed.
- Place a container beneath an active drip, and check it regularly.
- Move items away from the wet area, including items on nearby shelves or directly below the ceiling.
- Blot small amounts of water from a hard surface when it is safe, but do not use electrical devices around standing water.
- Keep children and pets out of the affected area.
- Watch for changes: a growing stain, new drips, a soft ceiling, or water appearing in another room.
- Tell the professional if water is near electrical fixtures or if the ceiling is sagging.
Do not assume that a bucket and towels have solved the problem. A roof leak may follow framing or other surfaces before it becomes visible indoors. The location of the drip is a clue, not proof of where water entered. If water continues after the weather clears, appears in more than one place, or returns during the next rainfall, report that pattern during the inspection.
If the leak follows a period of snow or a freeze-thaw cycle, an ice dam may be one possible factor. Ice dams can trap water at the roof edge, but other roof and flashing issues can also cause interior leaks. The University of Minnesota Extension’s guidance on dealing with and preventing ice dams discusses safe response and longer-term prevention. Do not use a hose, chemicals, or tools on a roof as a do-it-yourself remedy.
What should you document before a roof inspection?
Clear notes help you explain the situation and compare what you observe over time. You do not need to diagnose the roof or identify the exact entry point. Record facts that a professional can use to guide an inspection.
- When it began: Write down the date and approximate time you first noticed the leak.
- Weather conditions: Note whether it was raining, snowing, windy, or warming after a freeze. Mention if the water started during the event or later.
- Where water appears indoors: Identify the room, ceiling or wall location, and whether there are multiple affected spots. A simple room sketch can help.
- How it changes: Record whether the drip is steady, intermittent, or has stopped, and whether the stain or damp area is growing.
- Visible exterior clues: From a safe place, note any apparent debris or displaced material without climbing or touching the roof.
- Damage to belongings or finishes: Photograph affected items and surfaces before moving or cleaning them when practical.
Take wide photos that show the room and close photos that show the stain or drip. Include more than one angle where possible. Keep the original images and avoid editing them in a way that hides details. If you are documenting a possible weather-related event, keep your notes factual. A contractor can inspect the roof and explain observed conditions, while your insurer can explain policy requirements and claim decisions.
For leaks after a major weather event, use a safe first-response approach similar to the guidance in this storm damage restoration overview. If you are trying to understand how a shingle-related opening might be evaluated, the existing roof shingles leak repair guide offers related information. Neither a photo nor a symptom list replaces an on-site assessment.
What might be causing the leak?
Water can enter through a roof opening and travel before it reaches a ceiling. Possible sources include damaged or missing roofing materials, a problem around flashing, an issue at a roof penetration, or an ice-related condition. A roof’s age, past repairs, and exposure to severe weather may also matter. These are possibilities to investigate, not conclusions to draw from an indoor stain alone.
Keep the distinction between the symptom and the source in mind. A damp spot near a wall does not automatically mean the wall or the nearest roof edge is the entry point. Water may move along roof decking, framing, or other building materials before it drips. A proper inspection considers the roof surface and relevant transitions, then relates what is found to the indoor evidence.
For example, a stain that appears after wind-driven rain may prompt an inspector to look carefully at exposed roof transitions, but the timing by itself does not prove a flashing failure. A leak that appears after snow and then a thaw may raise a different set of questions, but it does not establish an ice dam as the cause. Share observations; let the inspection determine what they mean.
How can you assess the next step without guessing?
Before approving a repair, make sure you understand how the proposed work connects to the leak you reported. You do not need to identify a roofing component yourself. Instead, ask the inspector to explain what was observed, where it is located, and why that condition could allow water inside. If the visible stain sits in one room but the suspected opening is elsewhere, ask the professional to describe the route that may connect the two.
It can also help to separate three questions:
- Is there an immediate safety concern? A sagging ceiling, wet electrical area, or rapidly spreading water may need attention before routine repair planning.
- What exterior condition was actually found? Ask whether the inspection identified damaged material, a vulnerable transition, or another observable issue, rather than relying only on a symptom.
- What will the proposed work address? Ask which area will be repaired, whether related materials will be checked, and what signs should prompt a follow-up if moisture returns.
For example, if the leak has stopped by the time of the visit, provide your notes about the weather and timing. That history may help direct attention, but it should be treated as a clue rather than proof. If an inspection cannot confirm the source, ask what further observation or evaluation is recommended instead of assuming that a surface patch will settle the question.
How do temporary steps differ from a lasting repair?
First-response actions reduce immediate exposure and preserve useful information. A lasting repair addresses the verified entry point and any related damage that needs attention. The right work depends on what an inspection finds, so avoid choosing a repair based only on the location of the indoor stain.
| Situation | Safe homeowner response | What an inspection can clarify |
|---|---|---|
| Active drip, no obvious hazard | Use a stable container, move belongings, and record the location and timing. | Where water may be entering and what roof area needs closer review. |
| Bulging ceiling or water near electrical equipment | Keep people away; do not touch equipment or puncture the ceiling. | What specialist response is needed before roof work proceeds. |
| Leak after wind or heavy rain | Document the weather and visible indoor effects; observe outside only from a safe place. | Whether roofing materials, transitions, or another area show damage. |
| Leak after snow or thaw | Keep off icy roof surfaces and note when the leak appears. | Whether ice-related conditions or another roof issue may be involved. |
| Leak has stopped but stain remains | Photograph it and watch for new moisture; do not assume the cause is gone. | Whether the roof needs repair and whether the opening is still vulnerable. |
Use this comparison to organize your response, not to diagnose the roof on your own. If water is active or the damage is changing quickly, tell the contractor when you request an inspection. When the roof may need broader work, a professional can explain whether repair or replacement should be considered; the roof replacement information is a starting point for understanding that separate option.
How should you prepare to speak with a roofing professional?
When you request an inspection, explain what you have observed in plain terms. You can use a short checklist so that important details are not lost during a stressful moment.
- Describe the room and the exact area where water appears.
- Say when you first noticed the leak and what the weather was doing.
- Explain whether the leak is still active, stopped, or has returned more than once.
- Mention any ceiling bulge, wet electrical area, or other safety concern before anyone enters the home.
- Share photos and notes, and point out any visible roof changes observed from the ground.
- Ask what the inspection will cover, what access is needed, and how findings will be explained.
A useful inspection discussion should distinguish observed conditions from assumptions. Ask the professional to show or describe the area of concern, explain why it may be related to the leak, and outline what repair is being considered. If more than one possible source exists, ask what evidence supports the recommended approach. You can also ask what should happen if water returns after the work.
Written findings can make it easier to understand the work being proposed and keep your records organized. Review the scope carefully and ask questions before authorizing work. If the leak followed a weather event and you may contact your insurer, ask your insurance representative about documentation and claim procedures. Contractors can share observations about the roof, but coverage decisions belong to the insurer.
Referred Restoration describes its process as a free inspection, a custom solution, and professional installation. To arrange a conversation, use the contact page for an inspection request. You can also review the company’s Cottage Grove service information if that is your community.
When should you request professional help?
Arrange an inspection when you find active water, a new ceiling stain, a leak that returns, or exterior roof damage visible from a safe place. Prompt attention matters even if the water stops: a dry room does not prove that the roof opening is sealed or that materials have dried. If the ceiling is sagging, water is near electrical equipment, or the leak is spreading rapidly, treat safety as the first priority and keep clear while you seek appropriate help.
Some situations require more than a roofing visit. Electrical hazards should be handled by a qualified electrician. Significant indoor water may require a water-damage professional to assess affected materials. If you are unsure whether an area is safe, do not enter it to take photographs or retrieve belongings. Explain the concern when you call so the right next step can be discussed.
Do not wait for a dramatic stream of water before taking action. Small leaks can recur during later rain or snowmelt, and water can travel out of sight. A safe indoor response, useful documentation, and a professional assessment provide a clearer path than guessing at a patch from the ground.
Request a roof leak inspection conversation
Frequently Asked Questions
Can I repair a roof leak from inside the attic?
Do not enter an attic if access is unsafe, the area is wet, visibility is poor, or electrical hazards may be present. Avoid stepping on ceiling joists or insulation, and do not disturb wiring or roofing materials. Indoor observations and photos from a safe location are useful, but an attic visit is not required for a homeowner to report a leak. Ask a professional to assess the source.
Does a ceiling stain mean the roof is still leaking?
Not always. A stain can remain after water has stopped, but it can also darken or grow if moisture returns. Photograph the area, note whether it changes, and watch for new drips or soft, sagging material. The stain alone cannot show whether the roof is dry or where water entered.
Should I use sealant on the roof or ceiling?
A surface patch may hide a symptom without addressing the actual entry point, and reaching the roof can be dangerous. Applying a product to an indoor ceiling also does not repair the roof. Keep the area safe, contain drips when appropriate, and have the roof assessed before selecting a repair.
What if the leak appears only during certain weather?
Record the conditions each time it appears, including rain direction if you can observe it safely, wind, snow, or thaw. Intermittent leaks can still indicate a roof problem, and timing helps an inspector understand the pattern. Do not wait for the next storm if the ceiling is changing or water is active.
What is the safest way to check the roof outside?
Look from the ground or through a window without climbing a ladder or leaning out. Binoculars or a zoomed photo may help you note visible concerns. Leave roof access, close inspection, and temporary covering to someone equipped to do that work safely.
A calm, careful first response can limit indoor disruption and make the next decision clearer. Keep people away from hazards, document what you observe, and have a qualified professional assess the roof rather than relying on a risky temporary patch.